Sub-to-Dub
Drag Racing Champion
- Location
- Arlington, VA USA
- Car(s)
- '17 GTI Sport 6MT
DIY: Weighted OEM Golf Ball Shift Knob

If you're anything like me you really like the look, feel, and personality of the factory golf ball shift knob but wish it wasn't so light and cheap feeling. A few weeks ago I experimented with increasing the weight without changing the look.
The OEM knob (without the boot) is right around 100 grams. My goal was to double that. There are really two approaches; add material to increase the weight or replace existing material with something denser. The OEM knob doesn't offer a lot of options for the latter so the biggest gains come from adding material. Here's a look at how things went.
Tools used:
-Flathead screwdriver
-T25 driver
-Rotary tool, sanding disc, and abrasive point bit
-Bench vise
-Heat gun
Parts/materials used:
-Tungsten powder
-Tungsten putty (2, 1oz packs)
-(1/32oz) tungsten fishing weights (1 pack of 10)
-5/8" split shaft collars (used 2 but these are optional)
-Blue thread locker
Total cost:
~$65
Total time:
<1 hour
Modification cool factor:
A solid 0 out of 5
----------------------------------------------------
1 - Remove the knob and boot
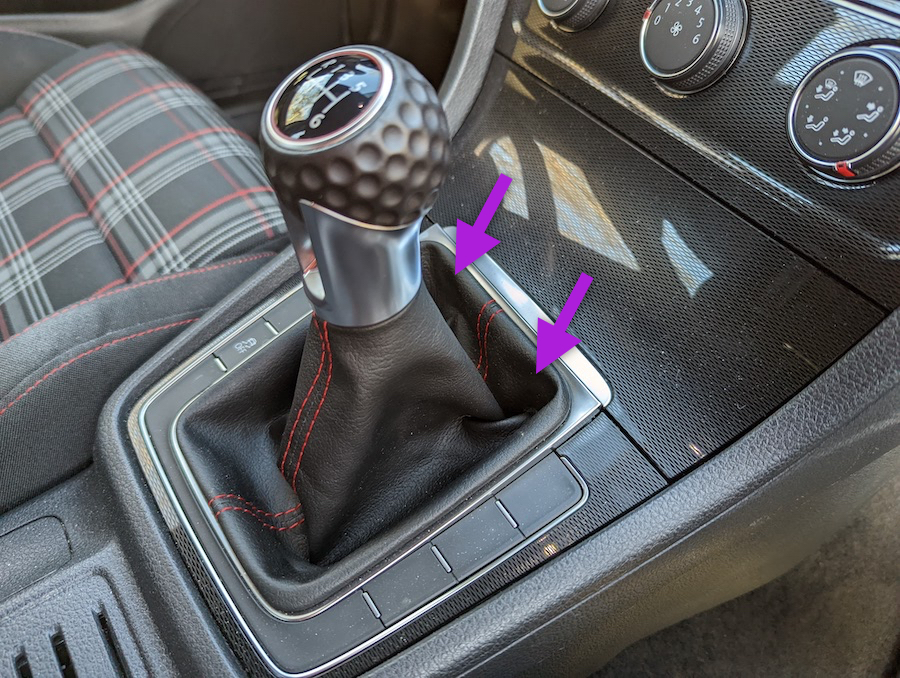
The first step is to remove the shift knob and boot from the car. Open the lower storage area door, and using your thumbs, locate the two tabs at the front of the shifter trim under the shift boot by feel, press towards the front of the car, and pull up. This may require a bit of force but be sure the tabs are fully disengaged before yanking up on the trim.
Next, using a flat blade screwdriver or similar, spread the metal clamp apart and pull the shift boot off the shift lever. It may help to twist the knob as you pull up. If you're careful during removal you can reuse this clamp and just re-secure using needle-nose pliers.

----------------------------------------------------
2 - Disassemble the knob
The first step of disassembly is to remove the silver top cap. The best way I found is to take a pick, locate the seam on the back of the golf ball, insert the pick, and while gripping the knob, use your thumb as a fulcrum to lift the cap out. The pick will leave a mark but if you can get it down into the seam there's no real chance of seeing the mark since it's on the back of the knob. I'd recommend covering the top cap with some tape just in case the pick slips. It's soft and will scratch easily.


With the silver cap off, use a T25 driver to remove the two screws holding the upper golf ball to the lower silver portion.
You can take things further by removing the boot but this is only necessary if you want to experiment with adding weight between the boot collar and the bottom of the silver portion. I found the boot pretty difficult to remove and didn't want to damage the plastic tabs. If you do go this route consider a heat gun or hair dryer to soften the tabs before trying to pry them back.
Disassembling the knob reveals two key areas to add weight; the lower silver portion and the golf ball cavity.

Note: this was a test on an old knob, you don't need to separate the shift pattern insert from the top cap, they can be removed as one.

----------------------------------------------------
3 - [Optional] Create more empty space in the golf ball
I decided to remove some additional material with a rotary tool to maximize the space I could fill with new material. This is optional but the more weight you can add up top the better. Do this carefully though, you don't want to remove too much structural support or mess up the tabs that secure the top cap. A bench vise made this easy but definitely protect the soft edges of the golf ball from the vise jaws. If you're feeling brave you can even drill out some material from the bottom center between the two screw holes to create even more room.


It ain't pretty but if you're careful there's a fair bit of material that can be removed and replaced with something heavier.
----------------------------------------------------
4 - Add weight to the lower section
Next, I went looking for the densest material that could fill the empty spaces discovered during disassembly. My initial thoughts were BBs, buckshot, or some type of lead weights but some Googling led me to tungsten. It's dense, comes in various forms, and is relatively inexpensive. Since I wasn't sure what would work best I ordered some tungsten fishing weights, powder, and putty. The powder was definitely the heaviest since it was the purest. The putty was a little less dense but much easier to work with and could still fill most of the voids. The weights proved to be the least dense and probably not something I'd use again.

The fishing weights are about a gram each (you can get larger ones), the putty is about 30 grams per oz, and the collars are about 50 grams.
For the lower silver portion, I was originally planning to use the powder but the cavity isn't sealed and there was a chance powder could leak out so putty was the next choice. The putty is pretty hard at room temperature but a few seconds under the heat gun and it's much more pliable. The warm putty was able to fill most of the area but stuffing in the fishing weights helped push the putty into the lower recesses and added a little extra weight. There may be an opportunity to remove some of the internal plastic ribs on each side but I didn't want to risk weakening things too much. Using the putty and all ten fishing weights, I was able to add about 35-40 grams to the lower section.

----------------------------------------------------
5 - Attach upper and lower sections
Once you've added material to the lower portion, reattach the top golf ball using the two screws. Inspect the edges to make sure no material is visible. In my case, I had to remove a little bit of putty to make things seat properly.
----------------------------------------------------
6 - Add weight to the upper section
Next is to add material to the cavity in the golf ball. I wanted to use the powder here since, unlike the lower portion, there's no real risk of the powder leaking. I filled the cavity about 2/3 of the way with the tungsten powder, gave the knob a few taps to ensure all the nooks and crannies were filled, and then added a top layer of putty to seal it up. I was able to add about 45 grams to this section. You could probably use more of the powder but the putty felt like good insurance in case that top silver cap ever came off.

----------------------------------------------------
7 - Reassemble and reinstall
Line up the tabs on the bottom of the silver cap with the notches in the golf ball and press them together. If the top cap won't sit flush or snap into place easily, you may need to remove some material depending on what and how much was used.
Finally, I added one locking collar as high as I could under the shift boot. In retrospect, this really isn't an ideal spot since the weight is so low down but figured it could be easily removed down the road. I also used a locking collar in place of the clamp to secure the boot/shifter to the shaft. It clamps perfectly and maybe adds a little benefit. Really, I just hate that factory clamp. Use a little blue thread locker here so nothing comes loose from vibration.

----------------------------------------------------
Conclusion and thoughts on a V2
In total, I added about 80-85 grams to the knob (not including the collars). The breakdown was about 8-9 grams from the fishing weights, about 58 grams of the putty, and about approximately 15-18 grams of the powder.
So not quite double as I was originally hoping but not an insignificant amount. I think if you managed to use more of the powder and carved out more of the golf ball you could probably get to the 100-gram mark.
Since the tungsten powder is the best bang for the buck that I could find, I'd like to find a way exclusively use that if I ever had another go at this. You would need to seal the lower recesses of the silver portion because I could see some small gaps where the silver and black plastic pieces met and I suspect the powder would escape. It would probably be pretty easy to seal the gaps with some epoxy or even super glue but I didn't explore that option.
Really, I'd love to see someone 3D print a hollow insert to slot between the two sides of the lower silver portion. That would create a fair bit of space to add material.
So was it worth the time and money? Well, it does feel better; maybe not as sweet as some aftermarket shift knobs but definitely better than stock. The increased weight is noticeable and does make shifts in and out of gear seem smoother. It's about what I expected and given the low(ish) price and modest time investment, this was a success in my book. Plus it's always fun to spend time tinkering in the shop.
If you've done something similar or have any ideas to contribute please share. Thanks for reading!
Last edited:
") )
)