GOLFMK8
GOLFMK7
GOLFMK6
GOLFMKV

vigti Pure White GTI

vigti

Passed Driver's Ed
I've since sold the GTI, sadly :( Might get a project car in the future though!
-------------------------------------------------------------------

Hey all,

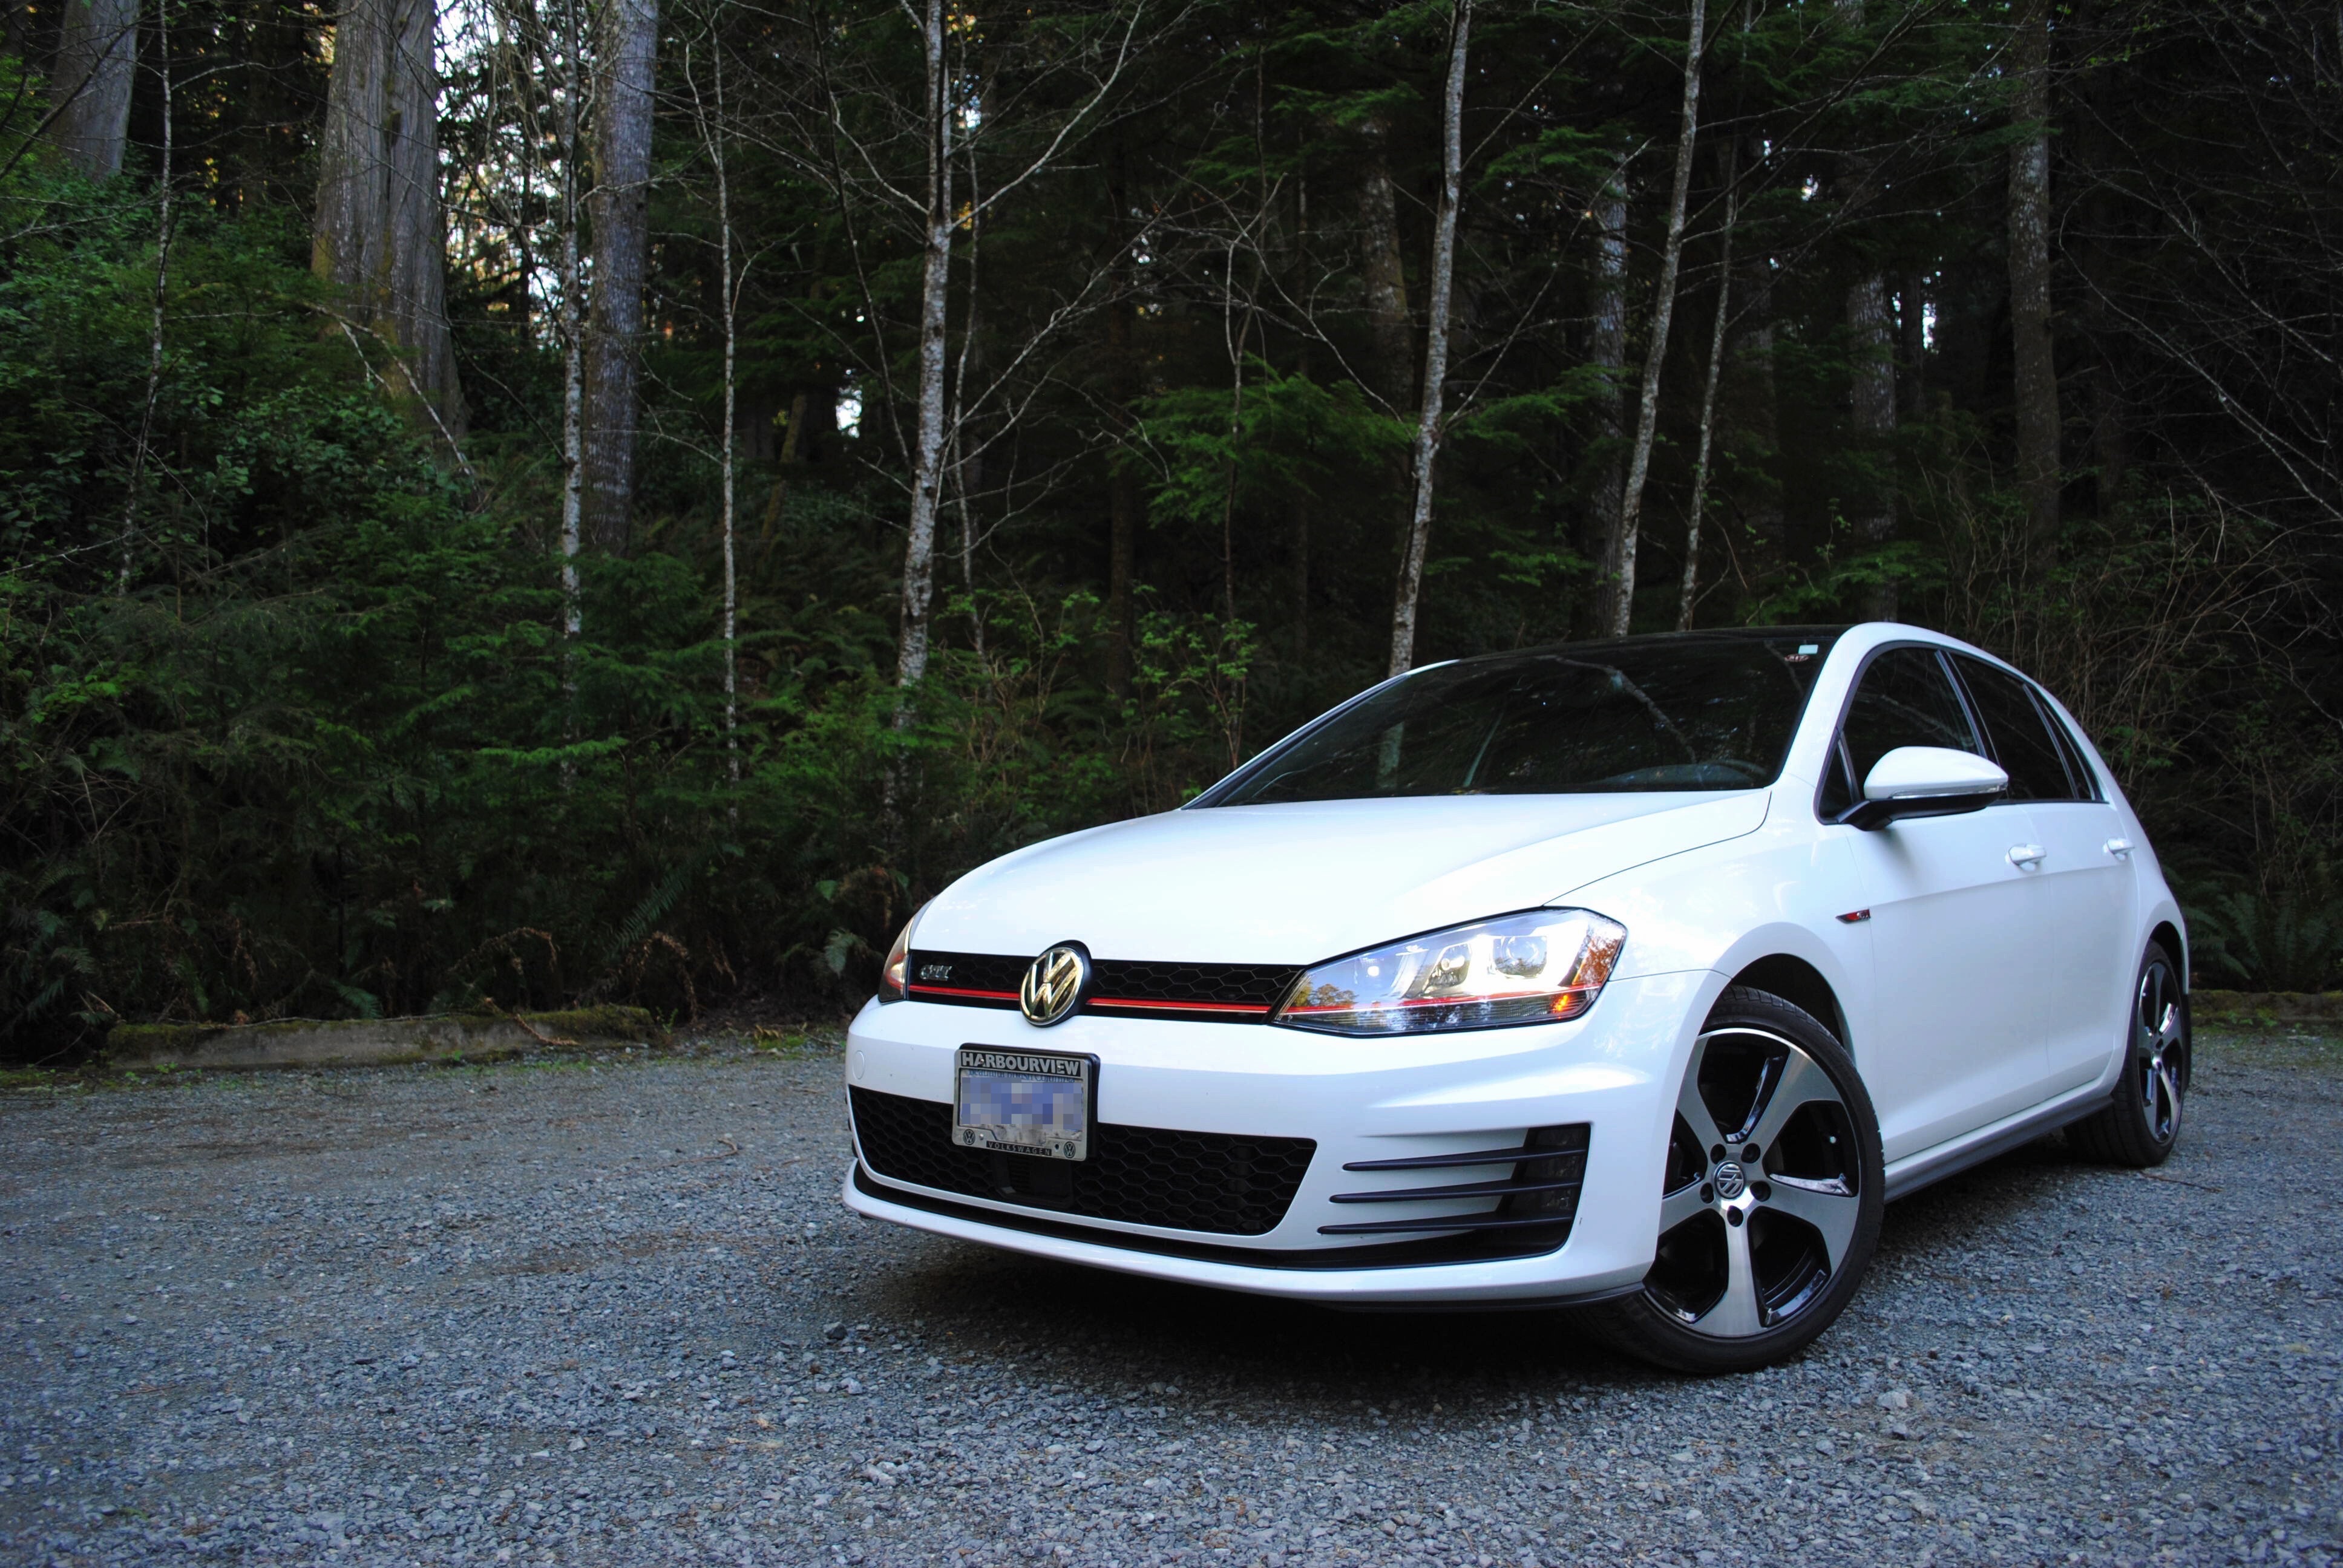
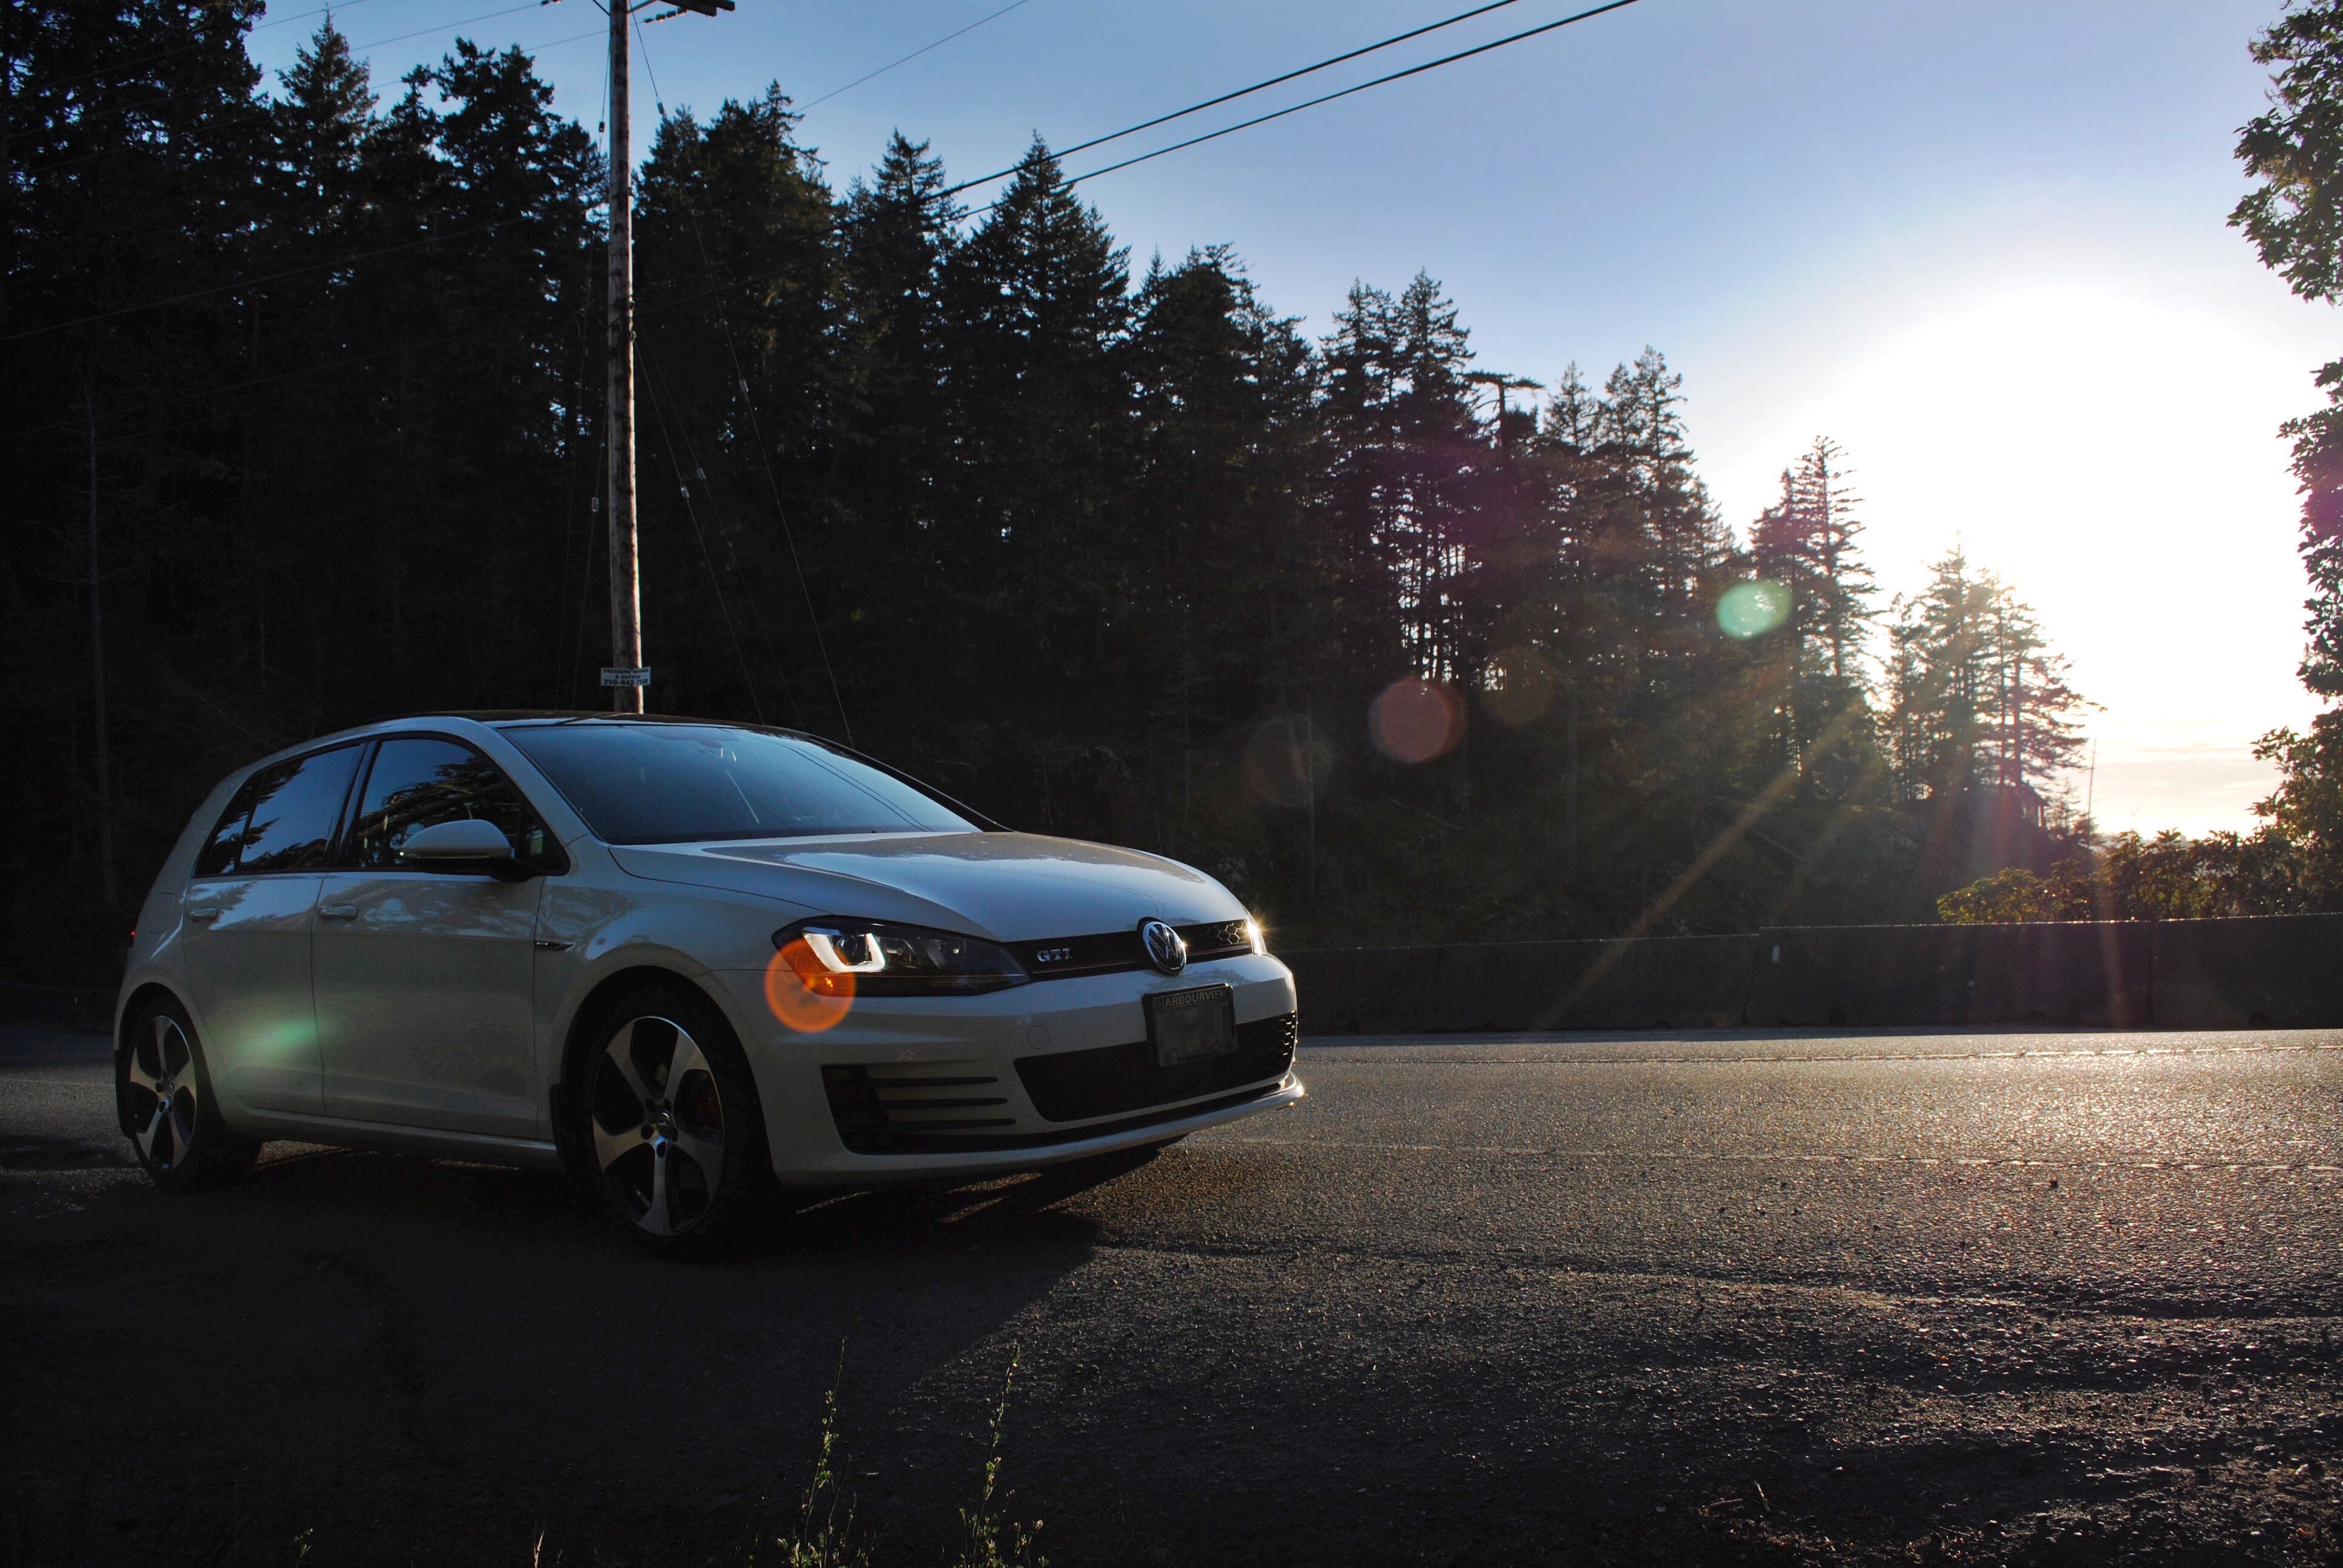
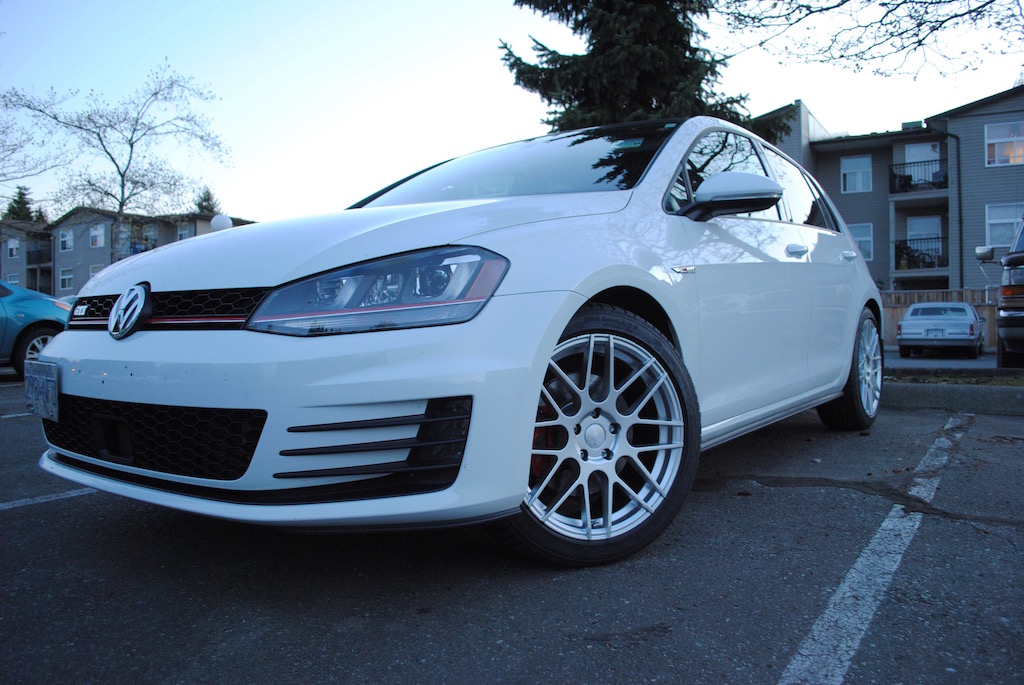
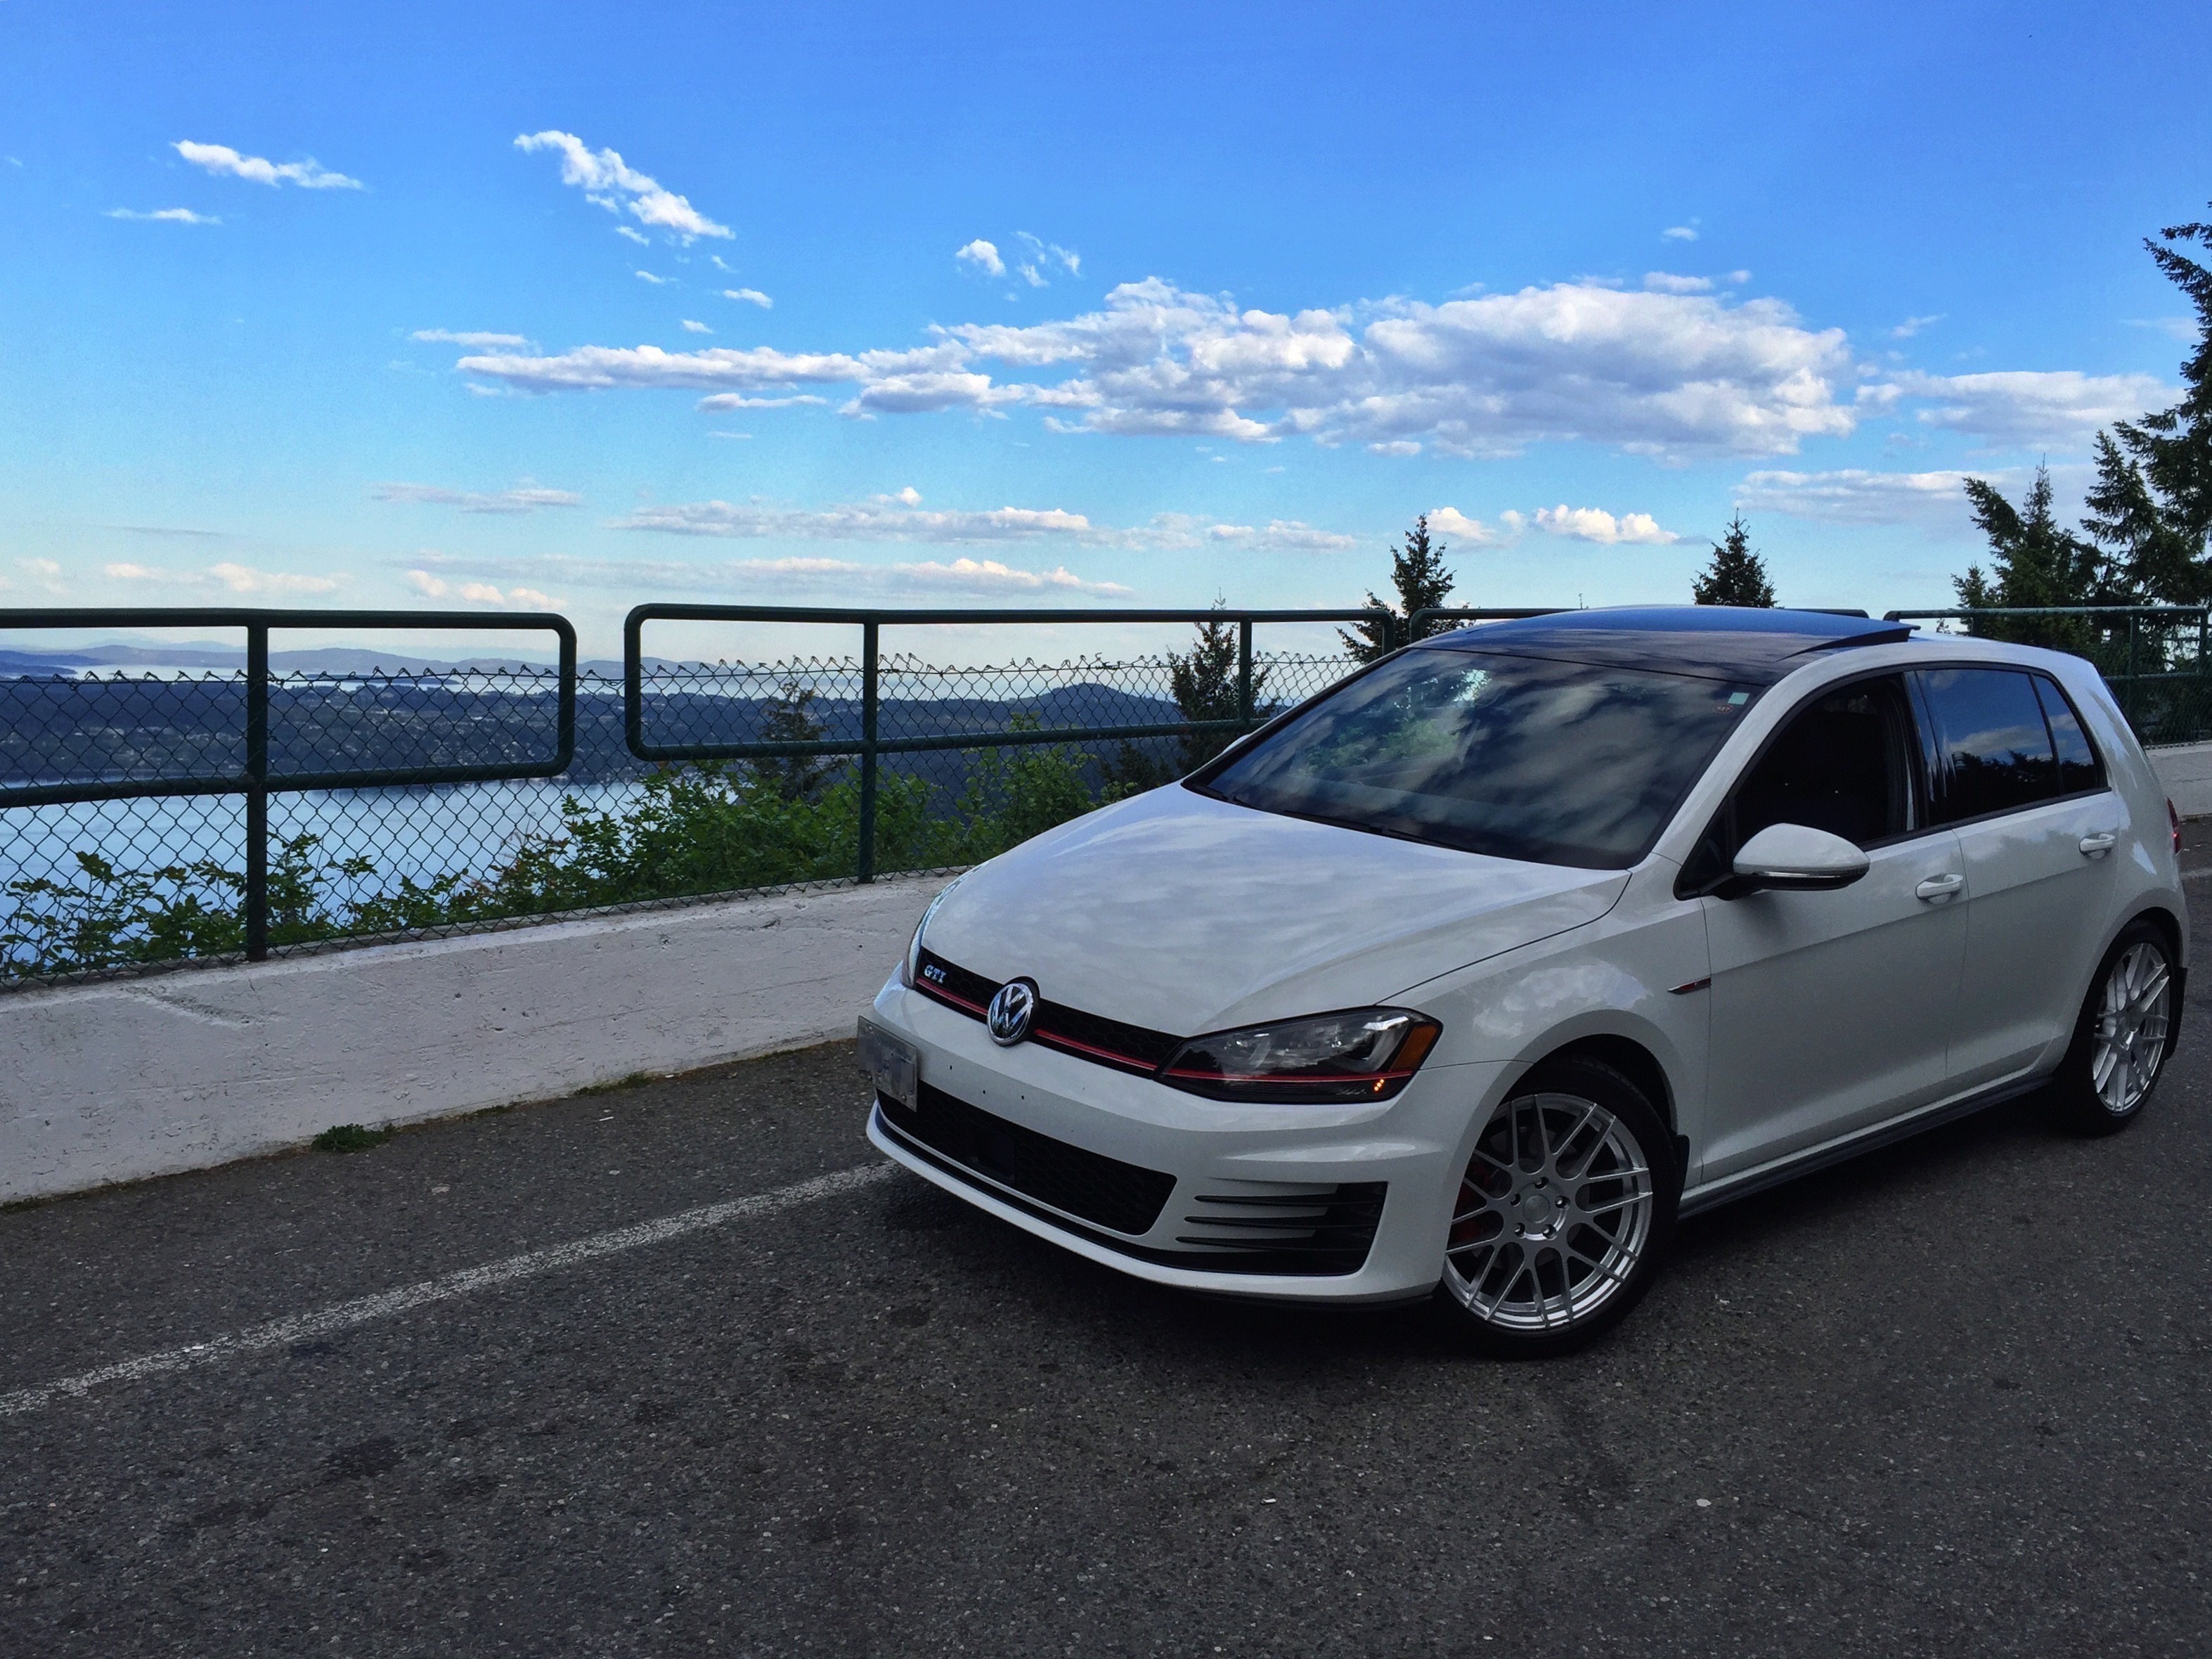
Very excited to finally own a GTI and to be starting my build journal here :) I traded in my 200,000km white 2007 Golf City and purchased a 2015 MK7 GTI DSG w/ Lighting Package in Pure White in February 2016 with 33km on the odometer.

This is the list of mods I've done so far: (will update with pics as I take them)
  1. Felt-lined change drawer
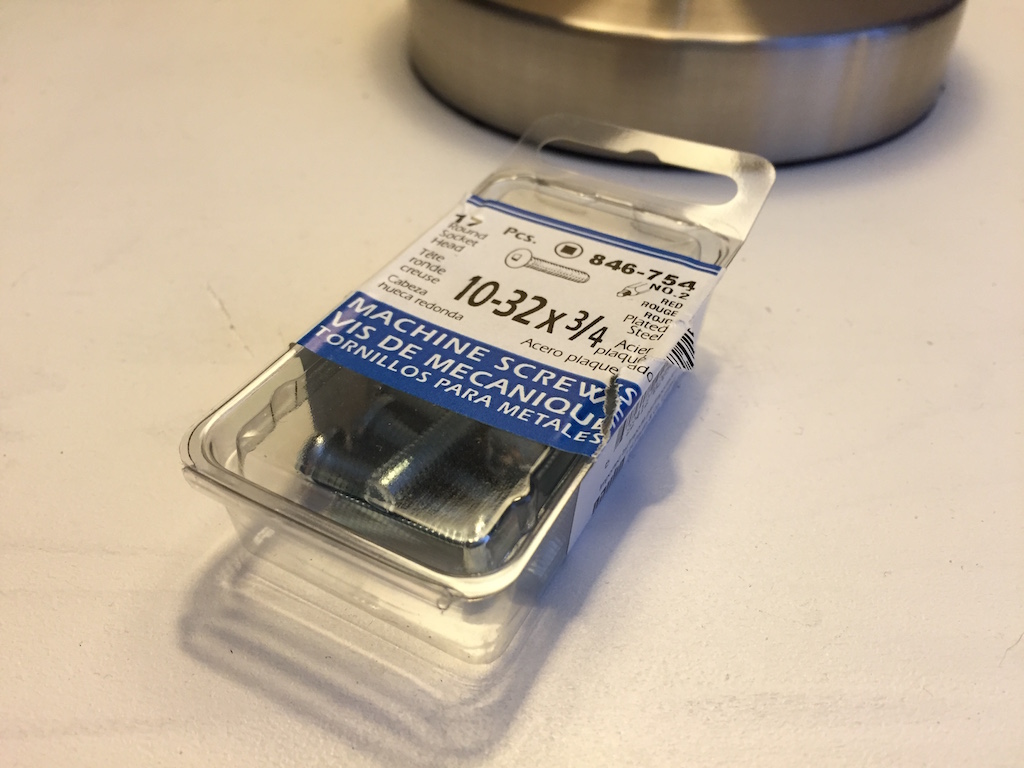
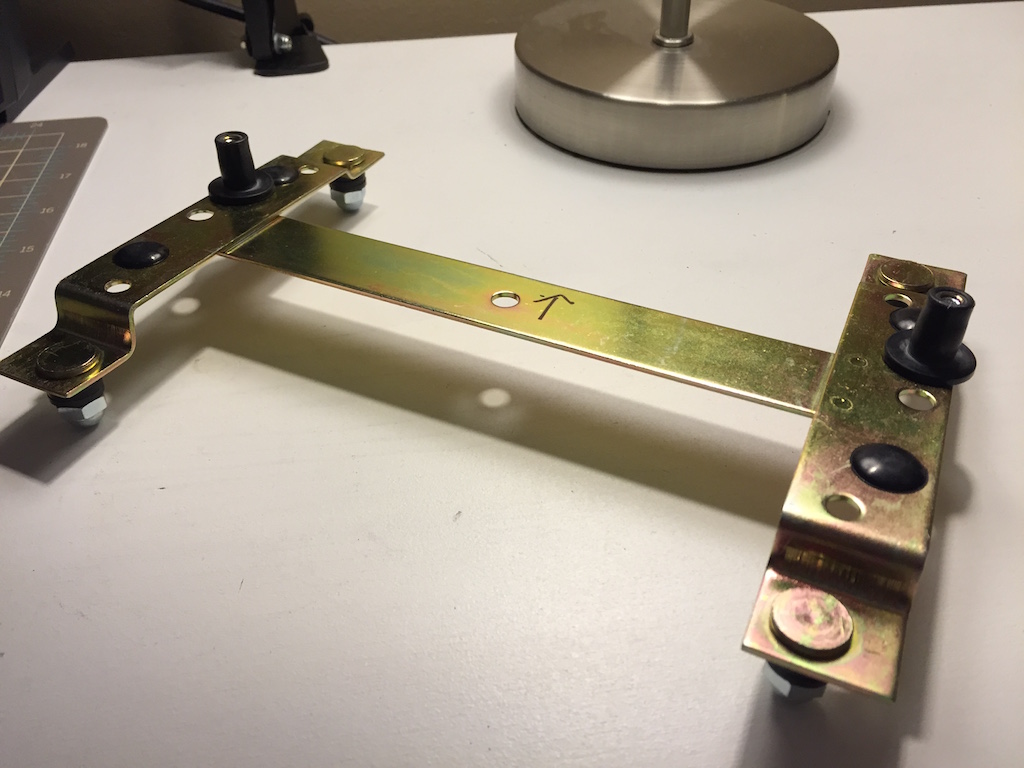
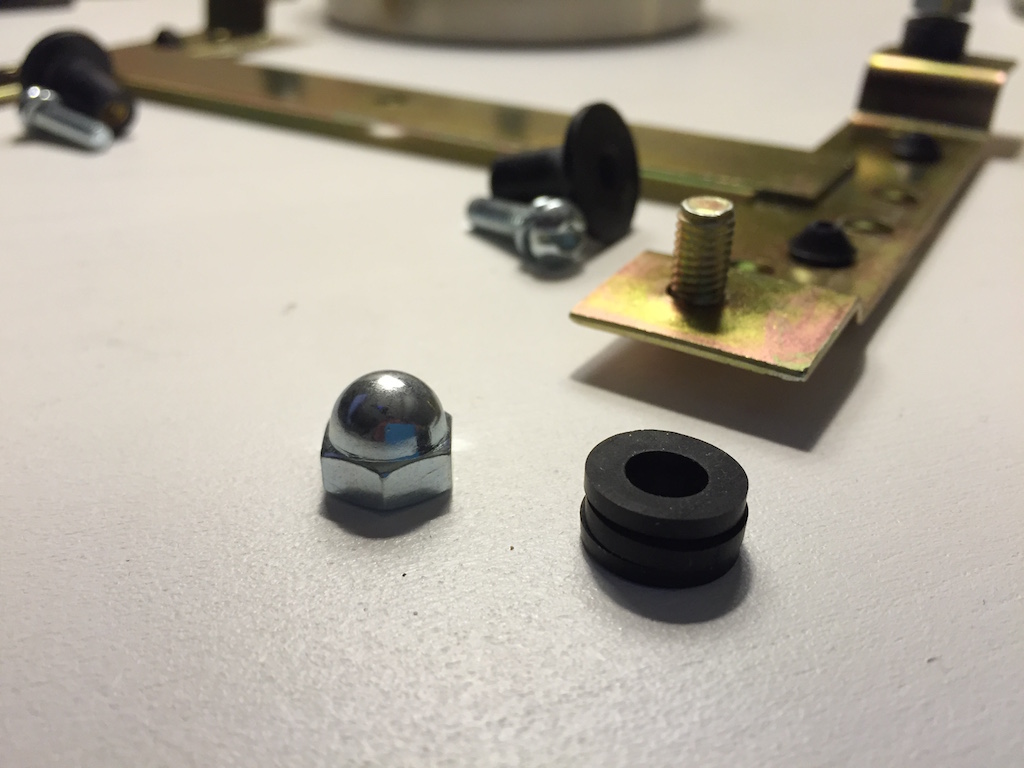
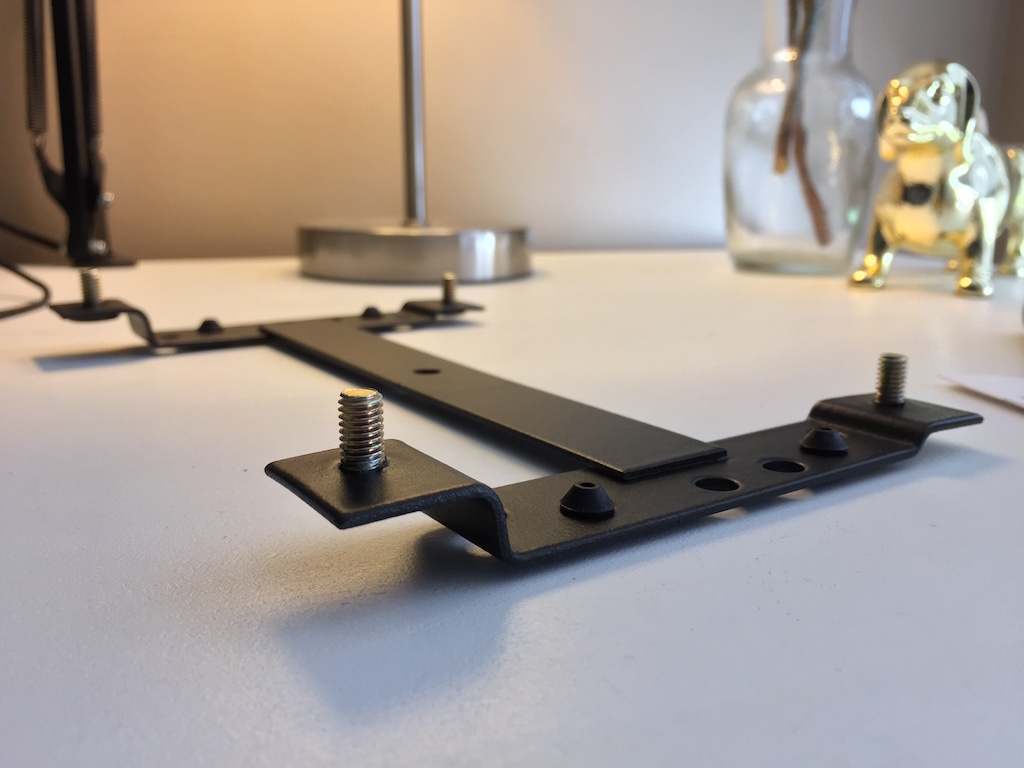
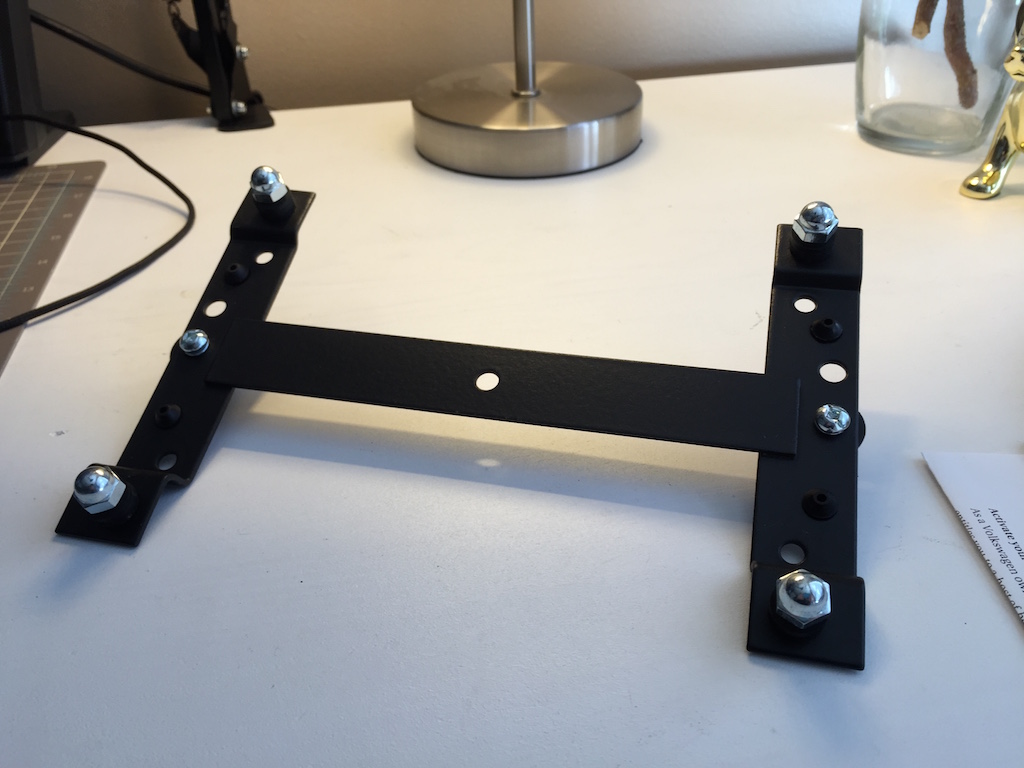
  2. Post #2 - Volvo rear license plate bracket install
  3. Post #7 - Front offset license plate bracket
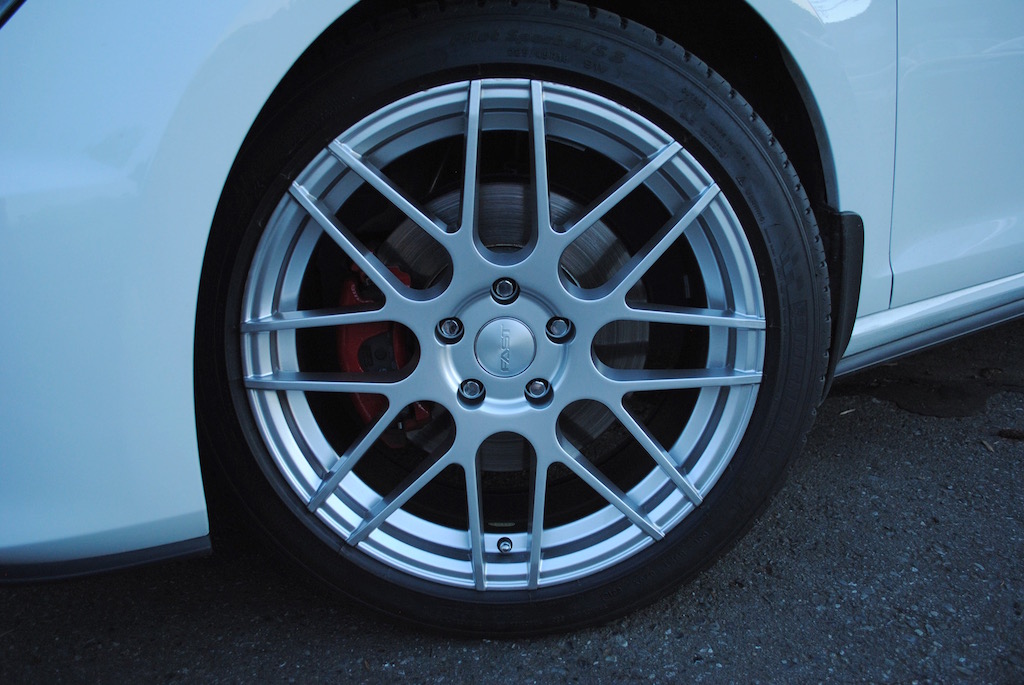
  4. New rims and tires - Fast Wheels Rennen in Hyper Silver wrapped in Michelin Pilot Sport A/S 3
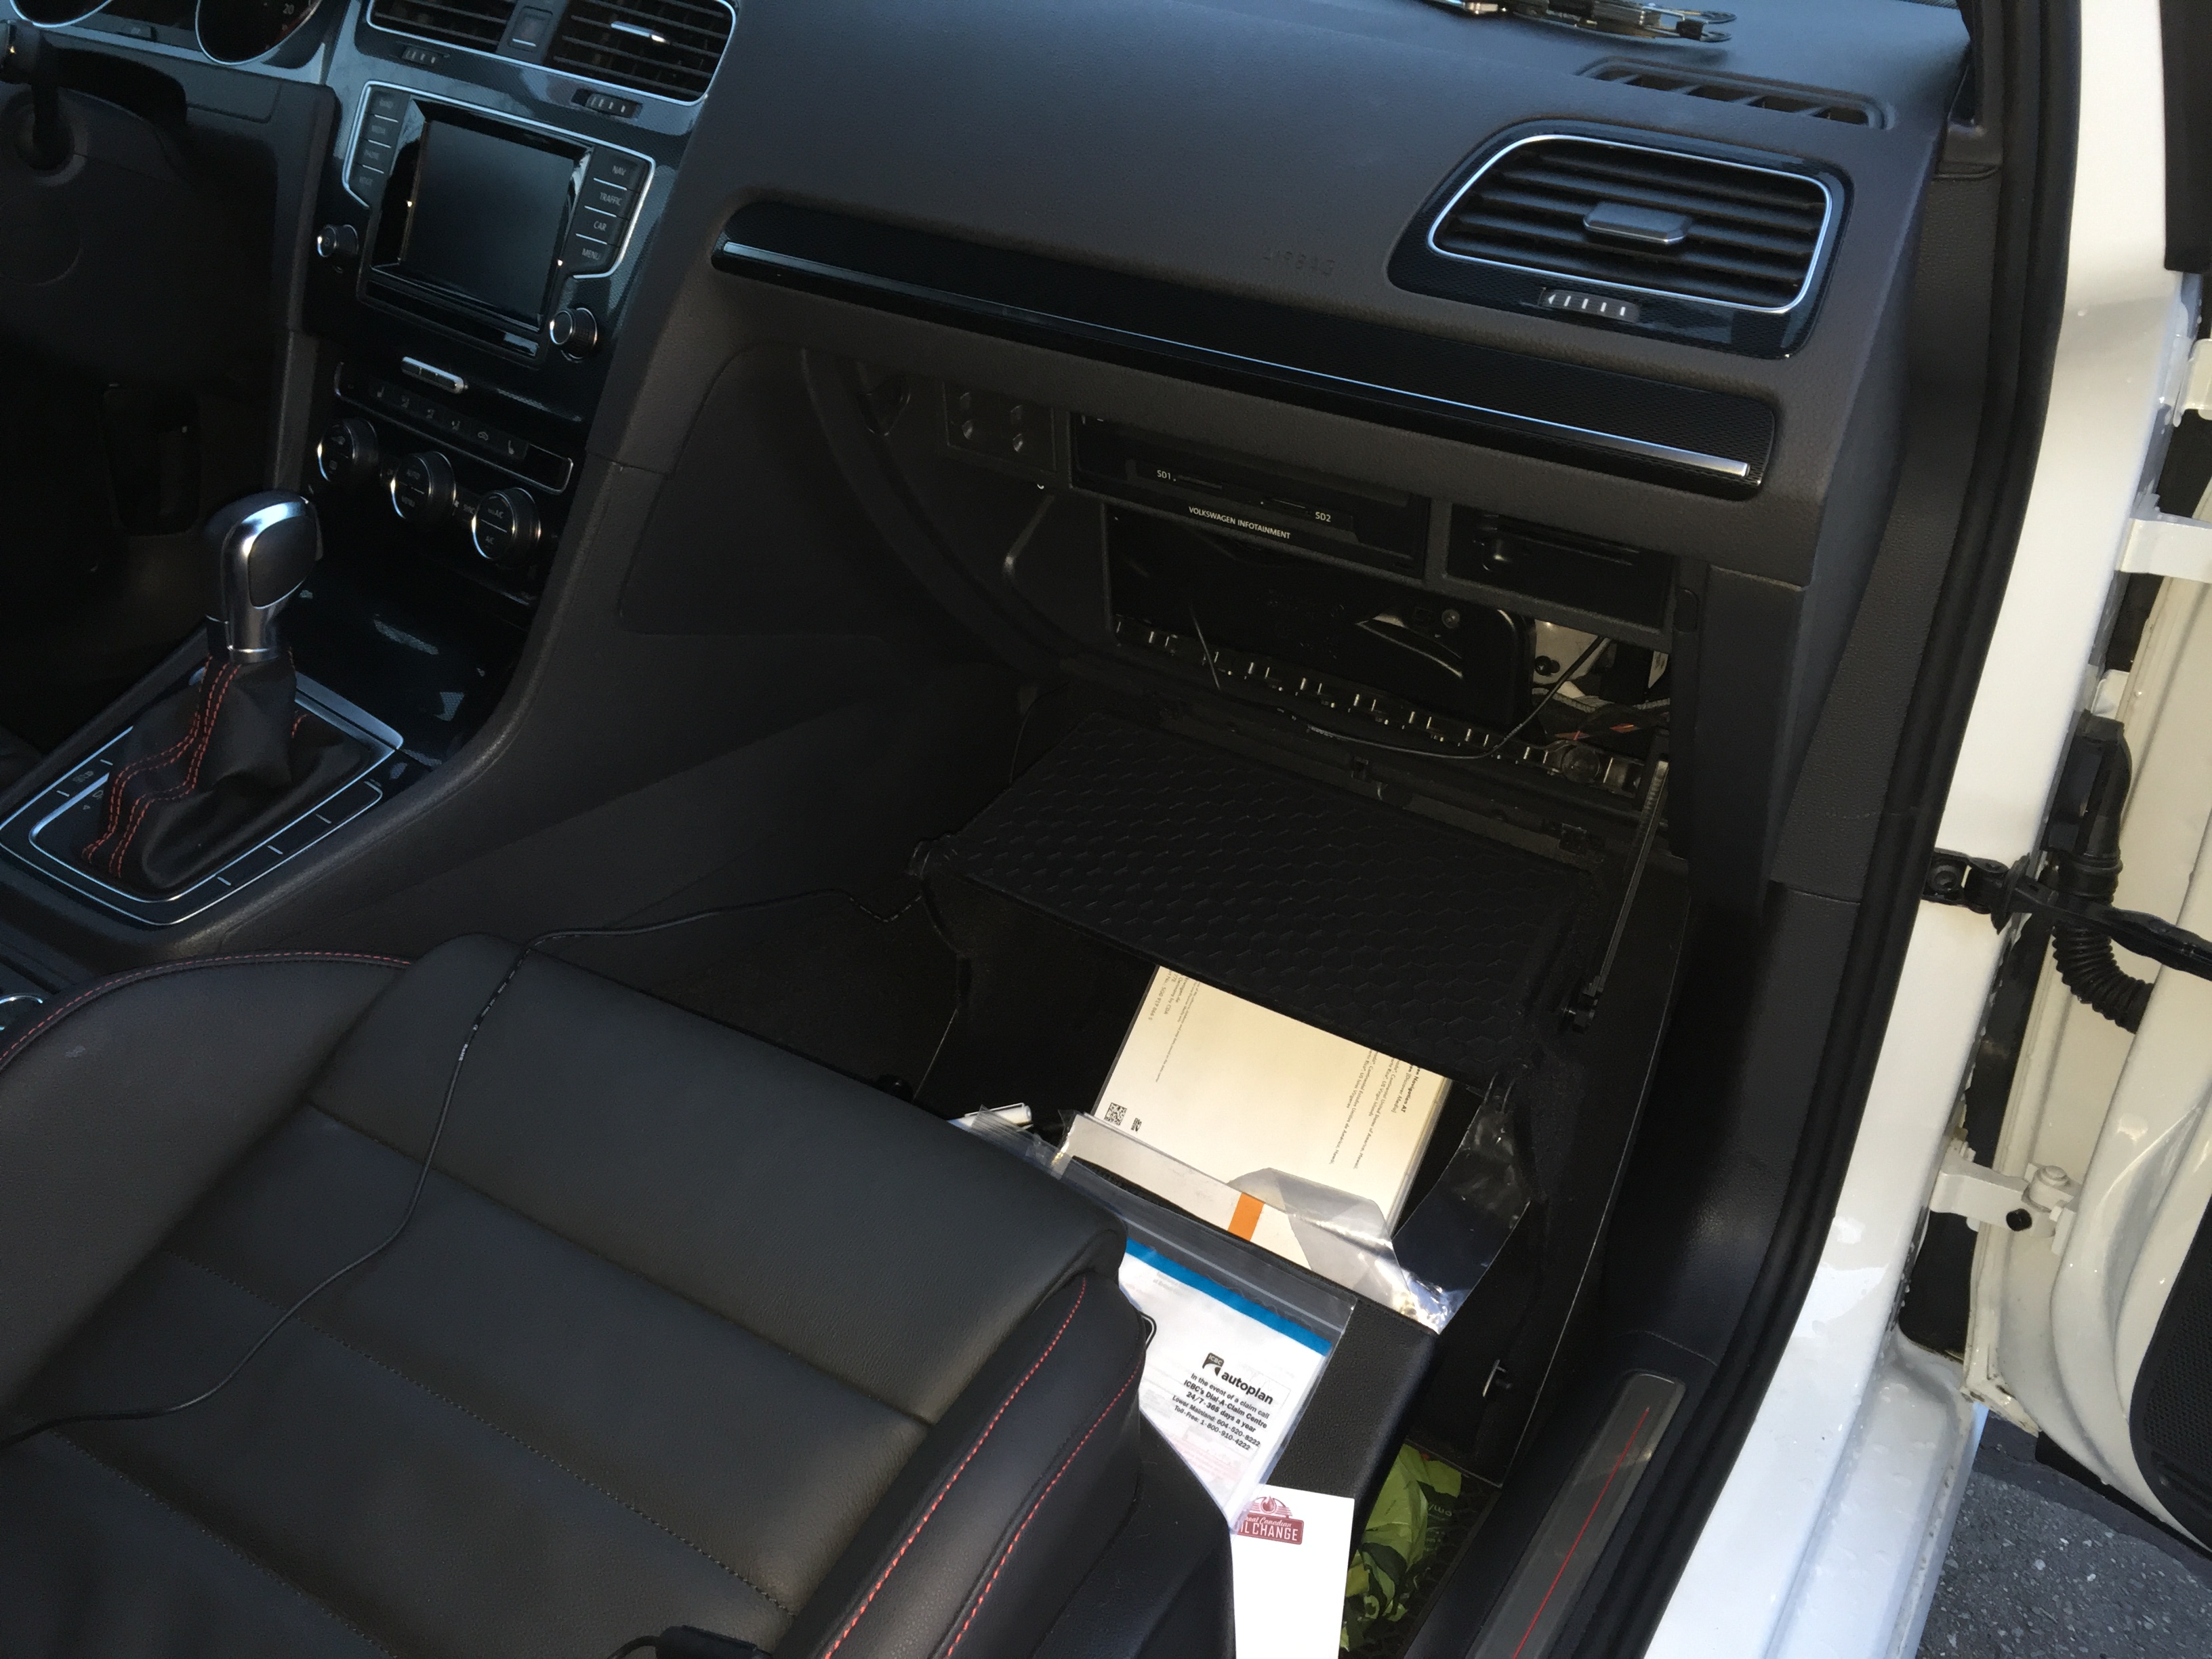
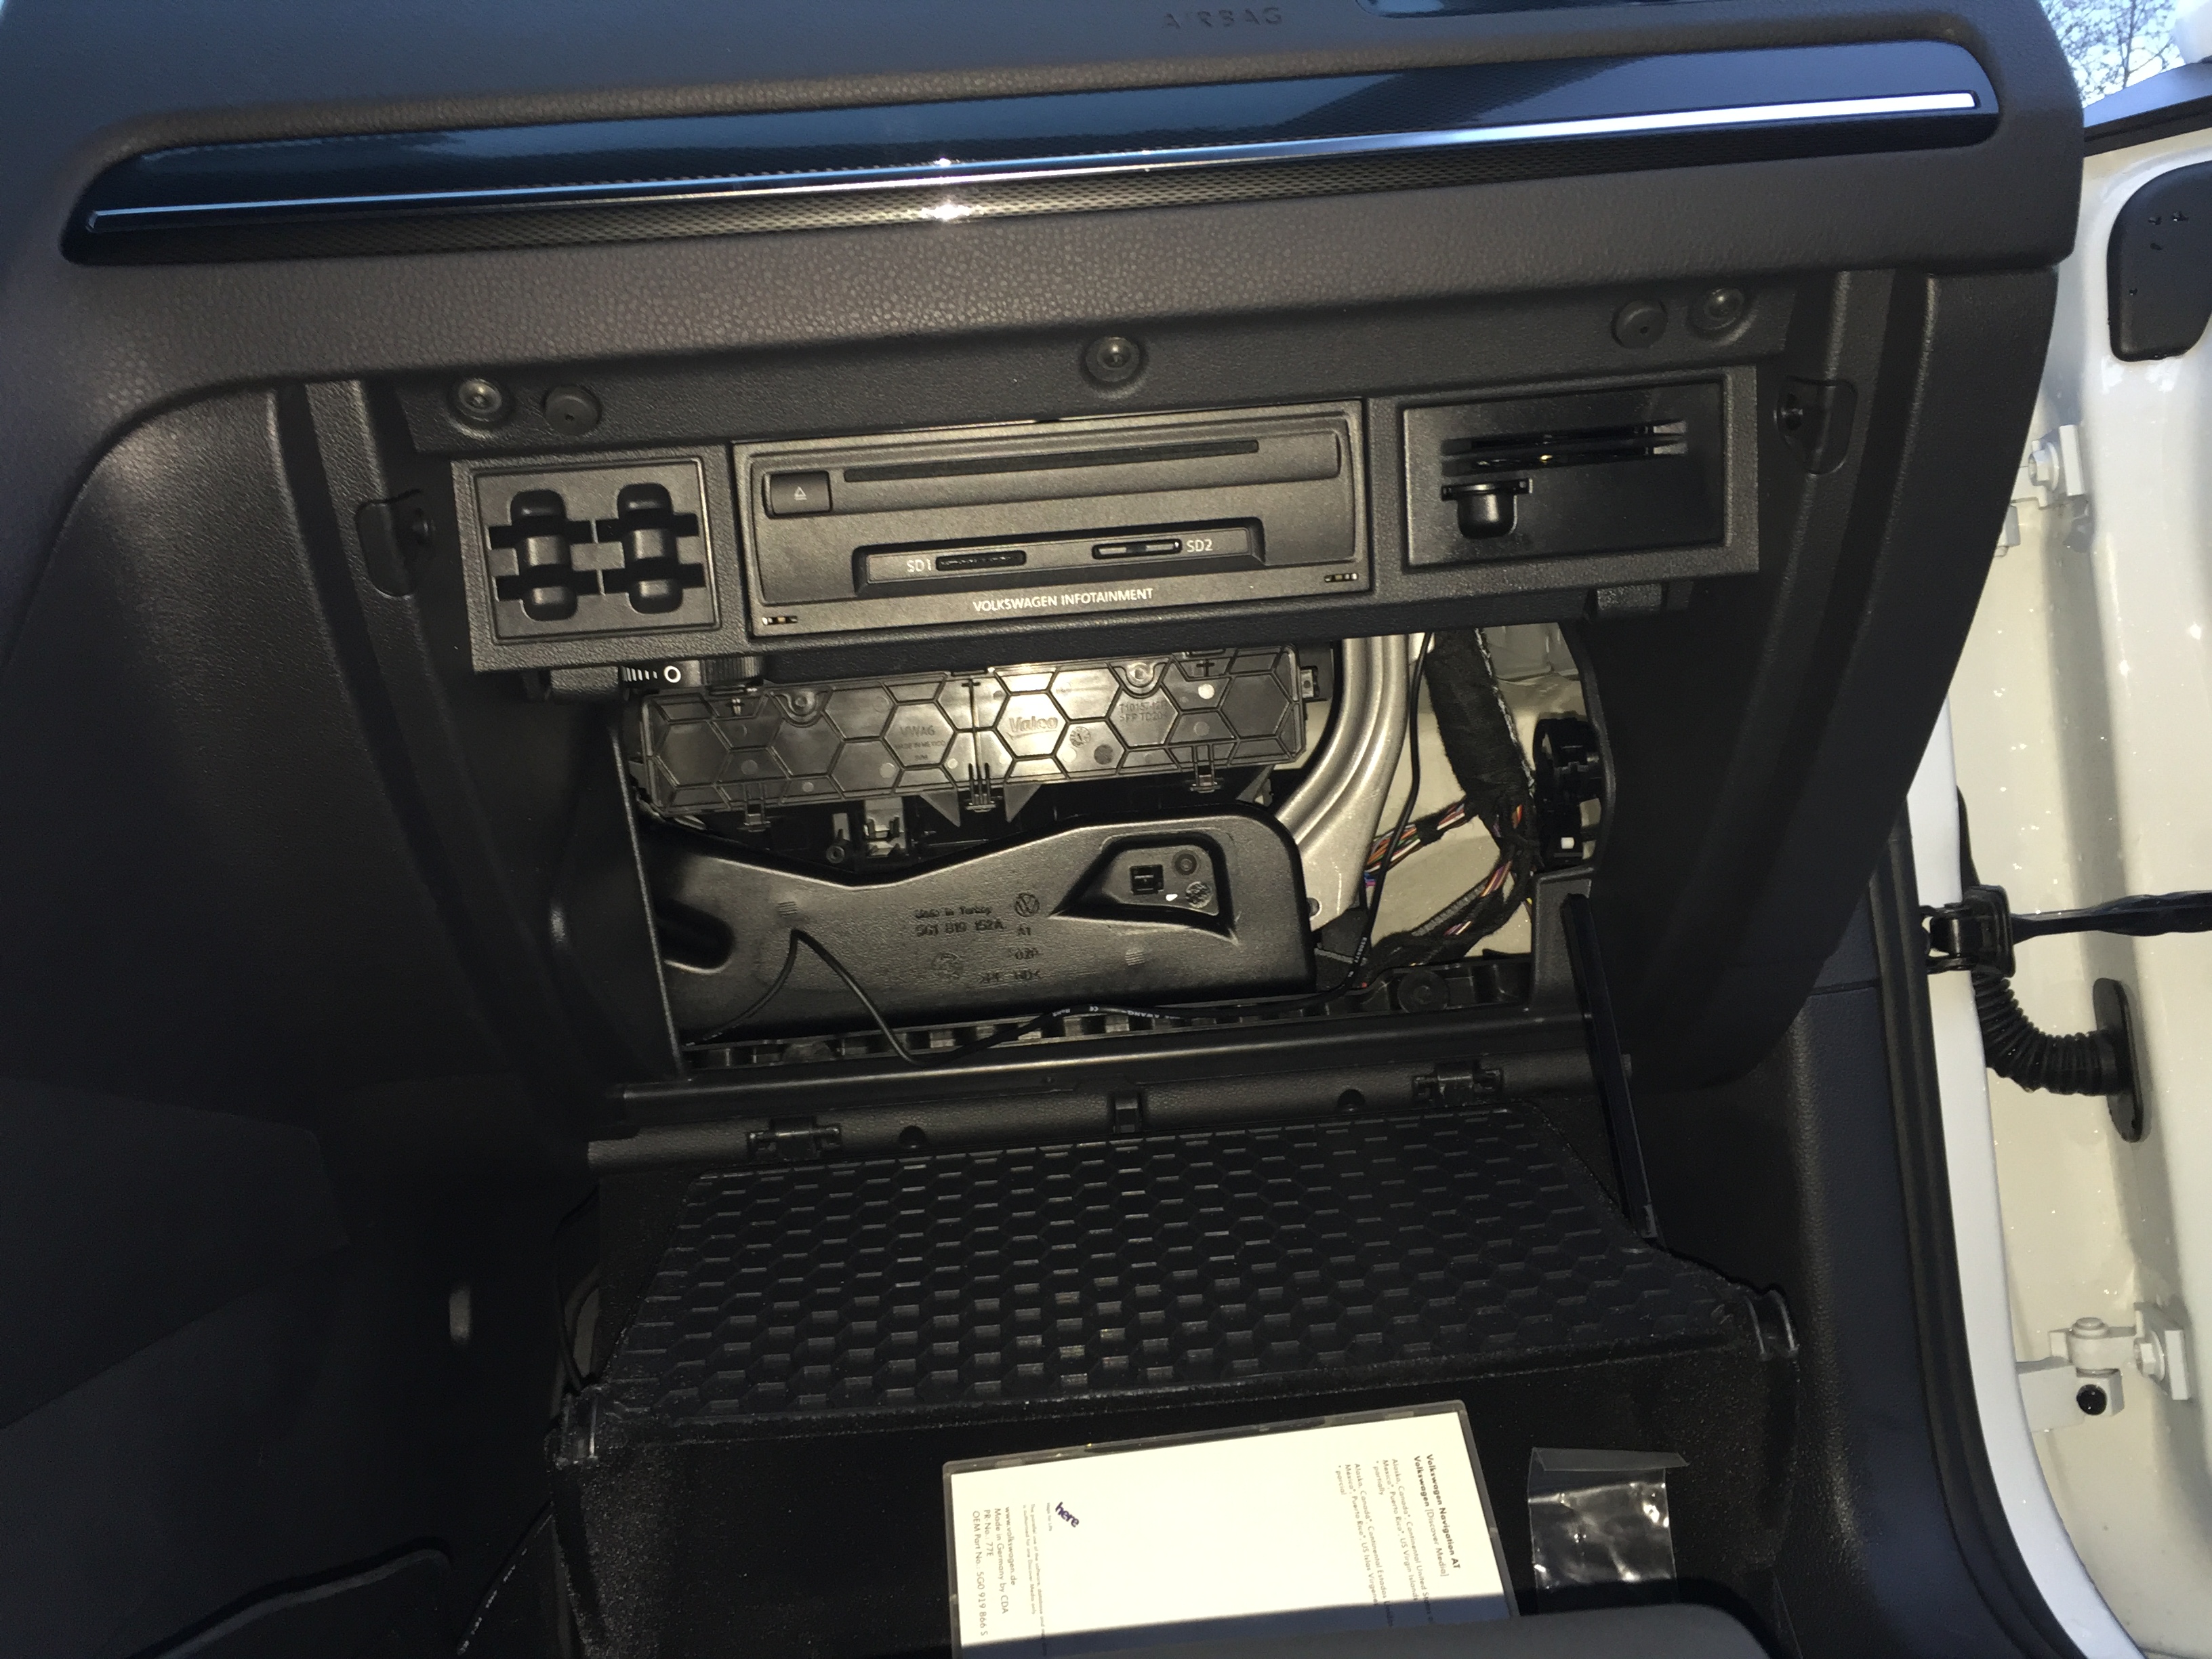
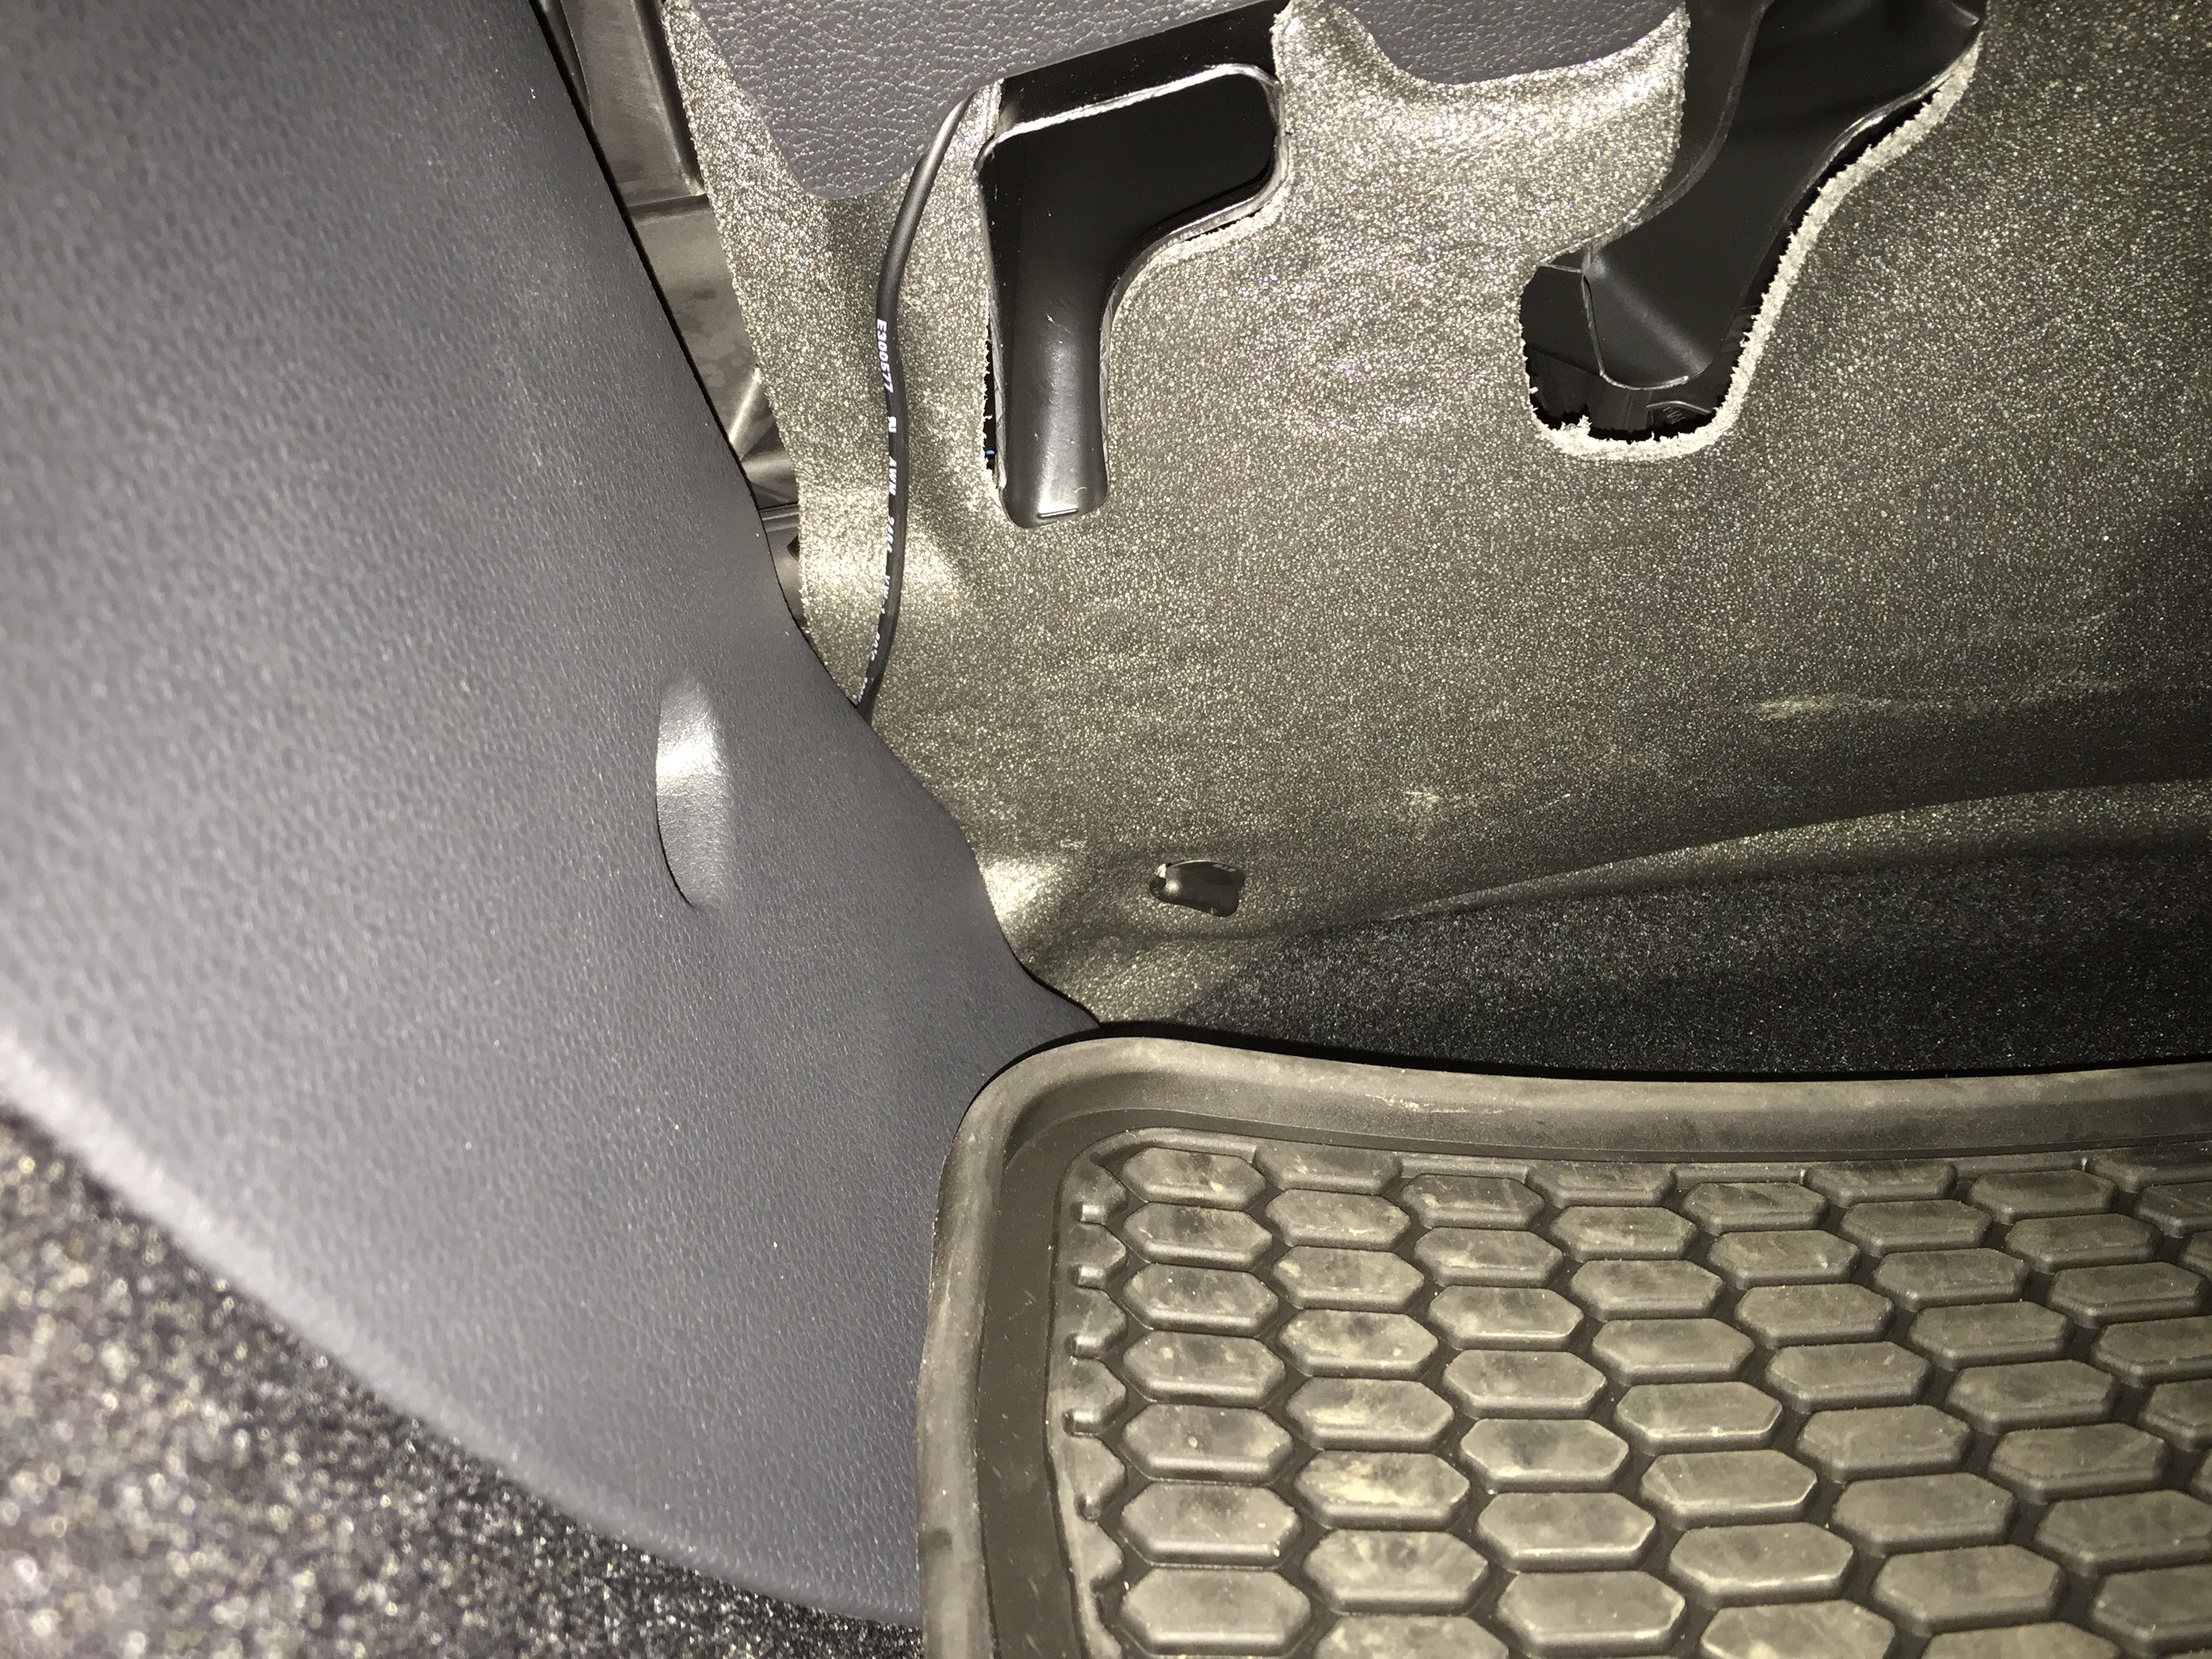
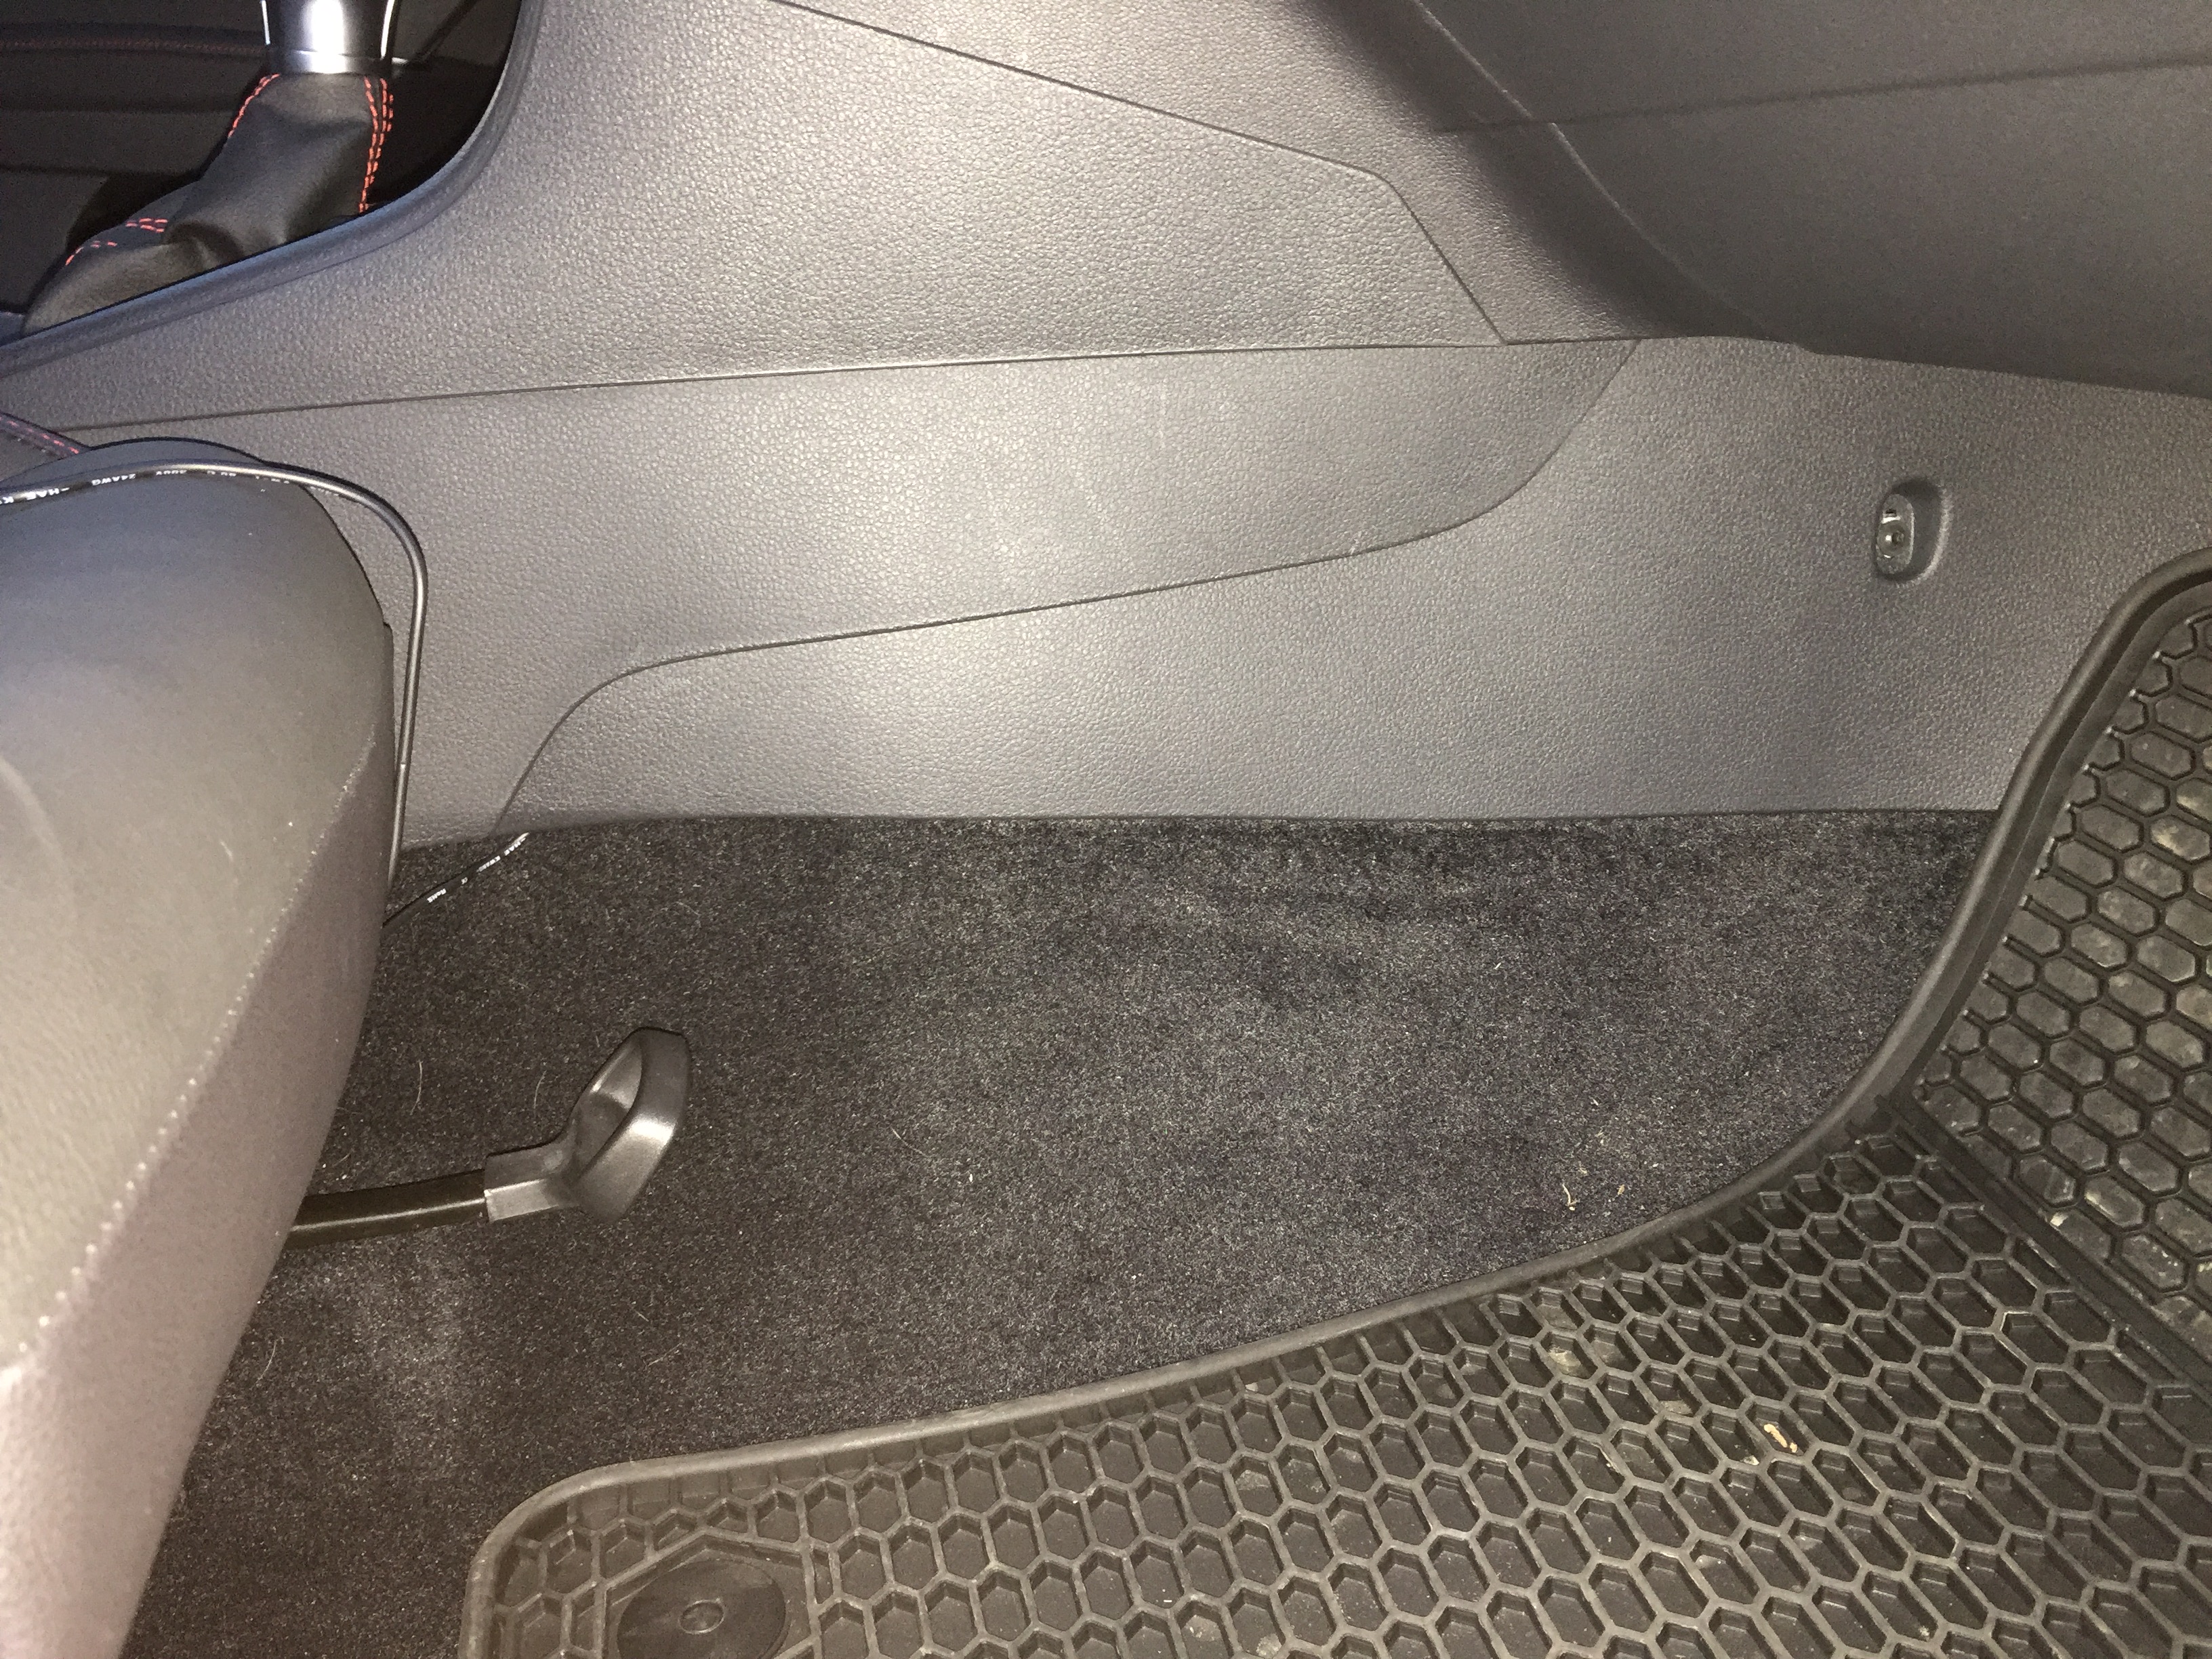
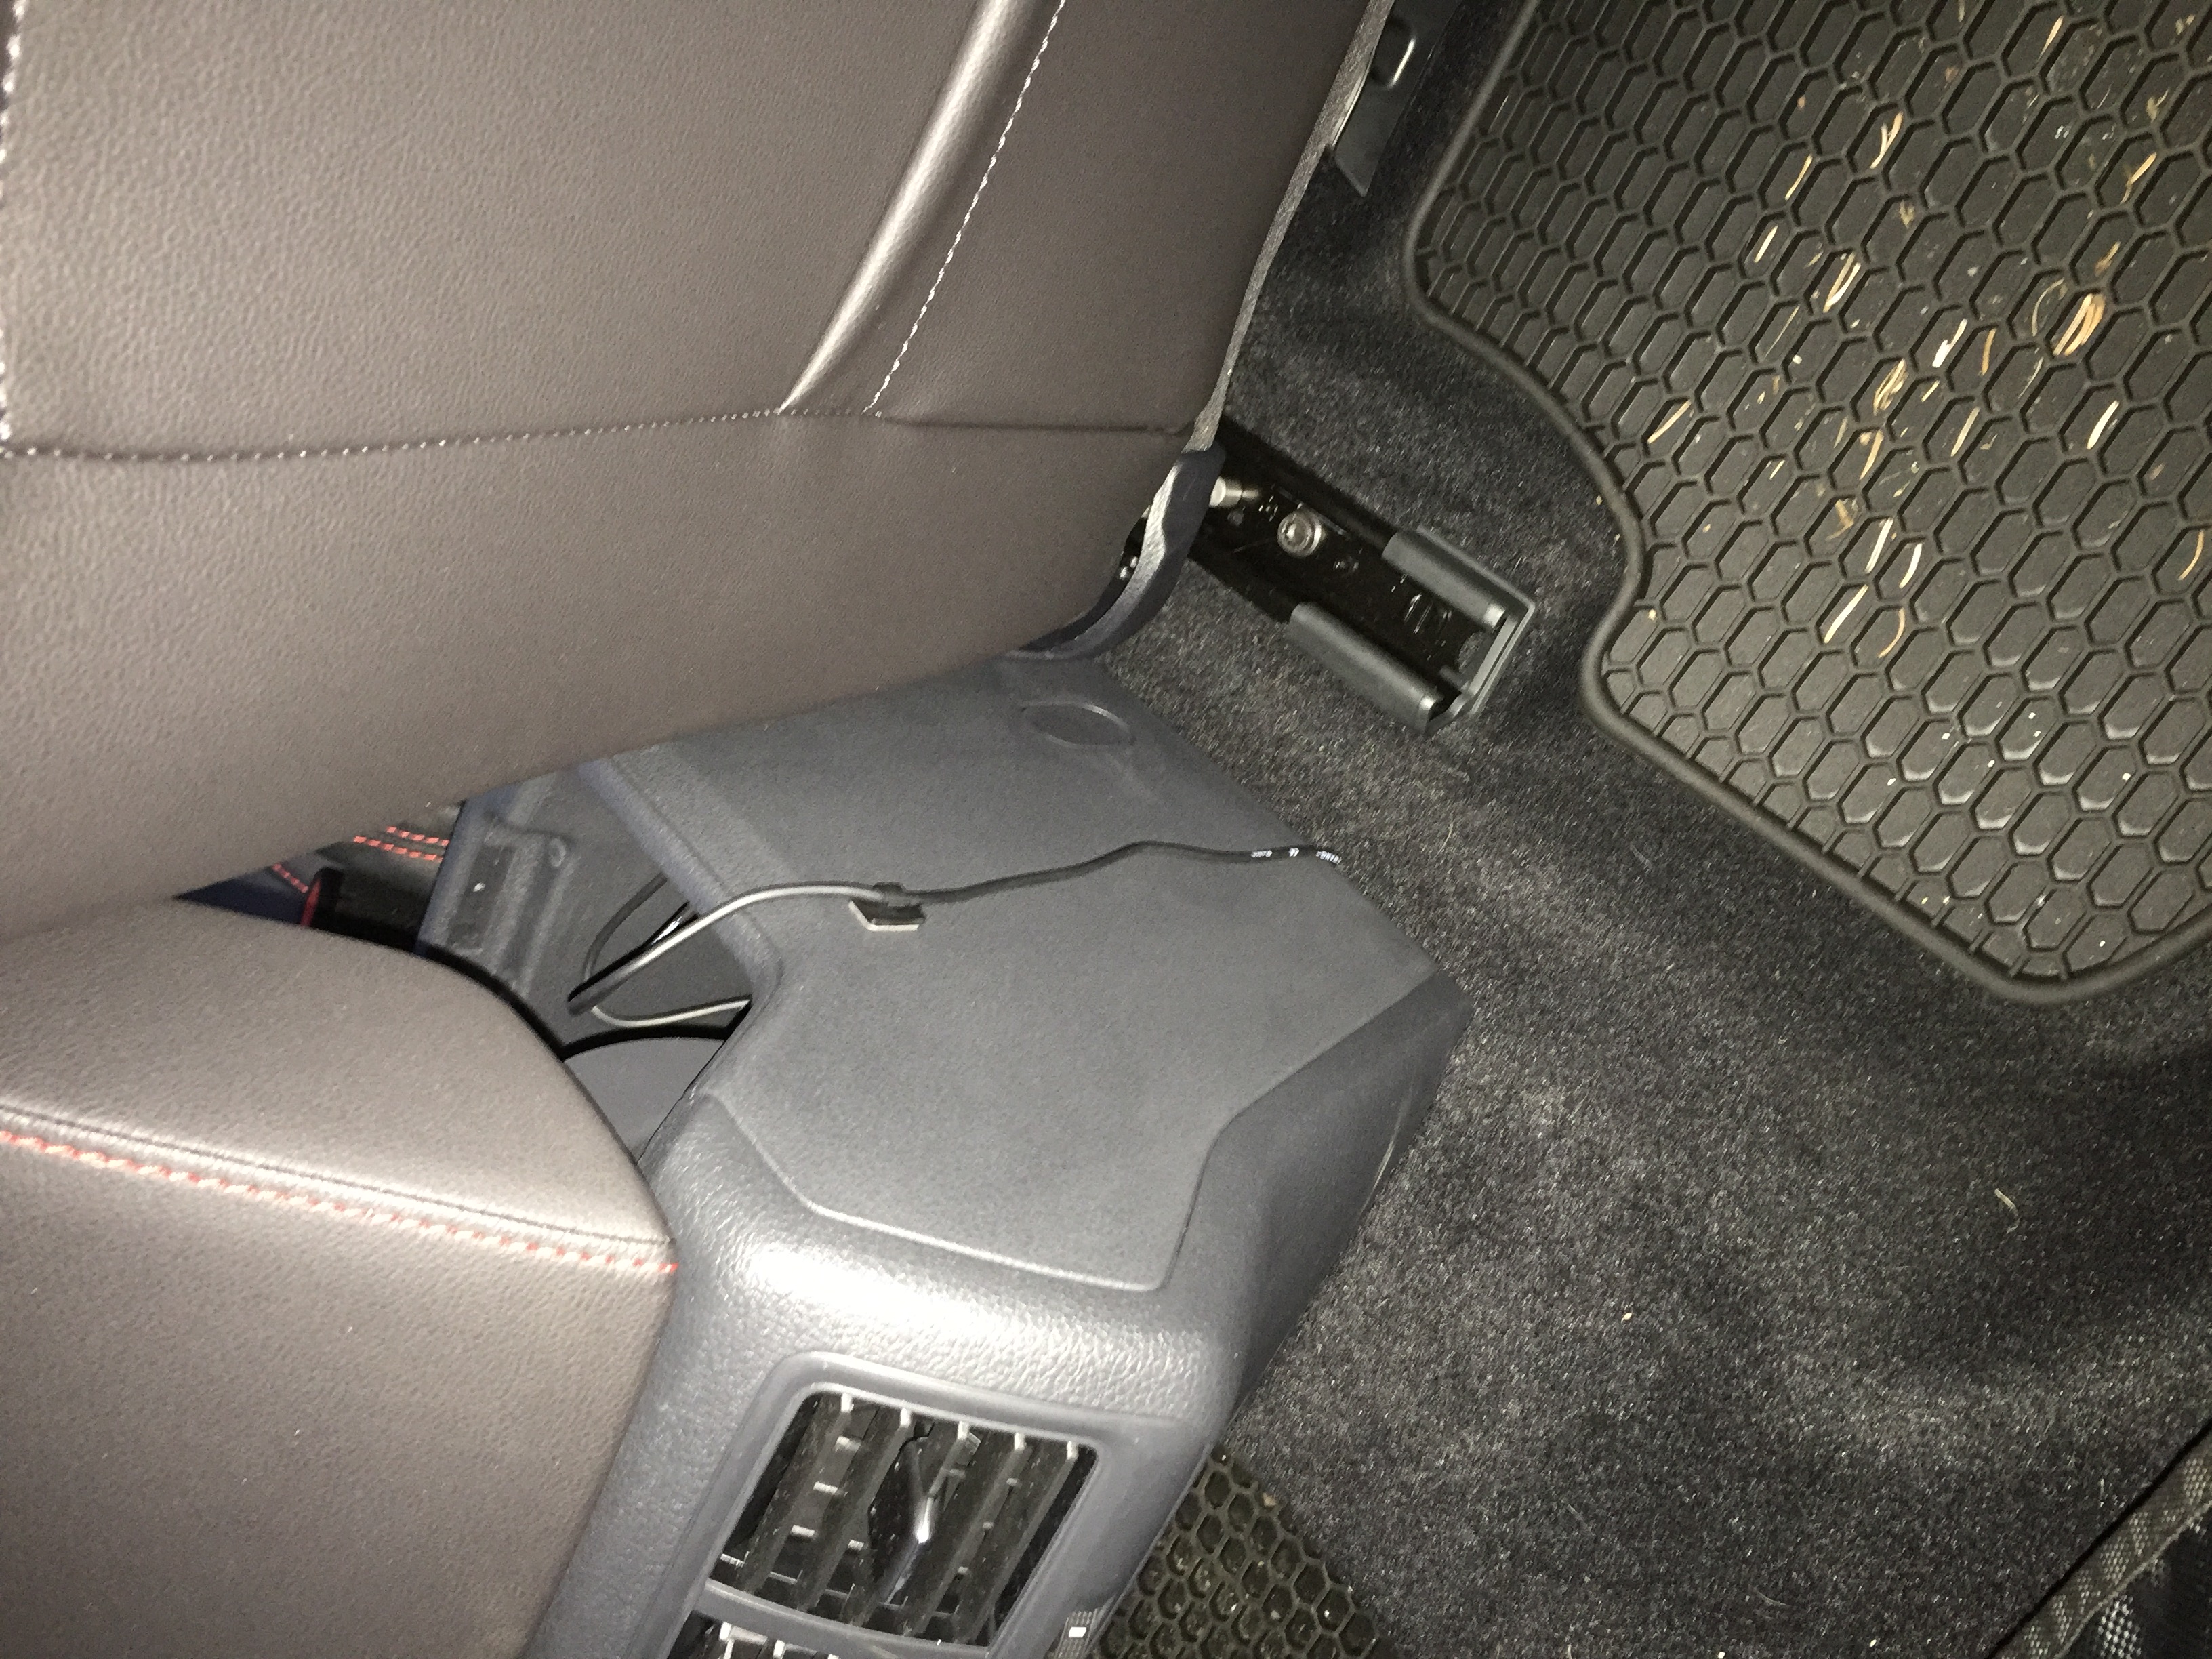
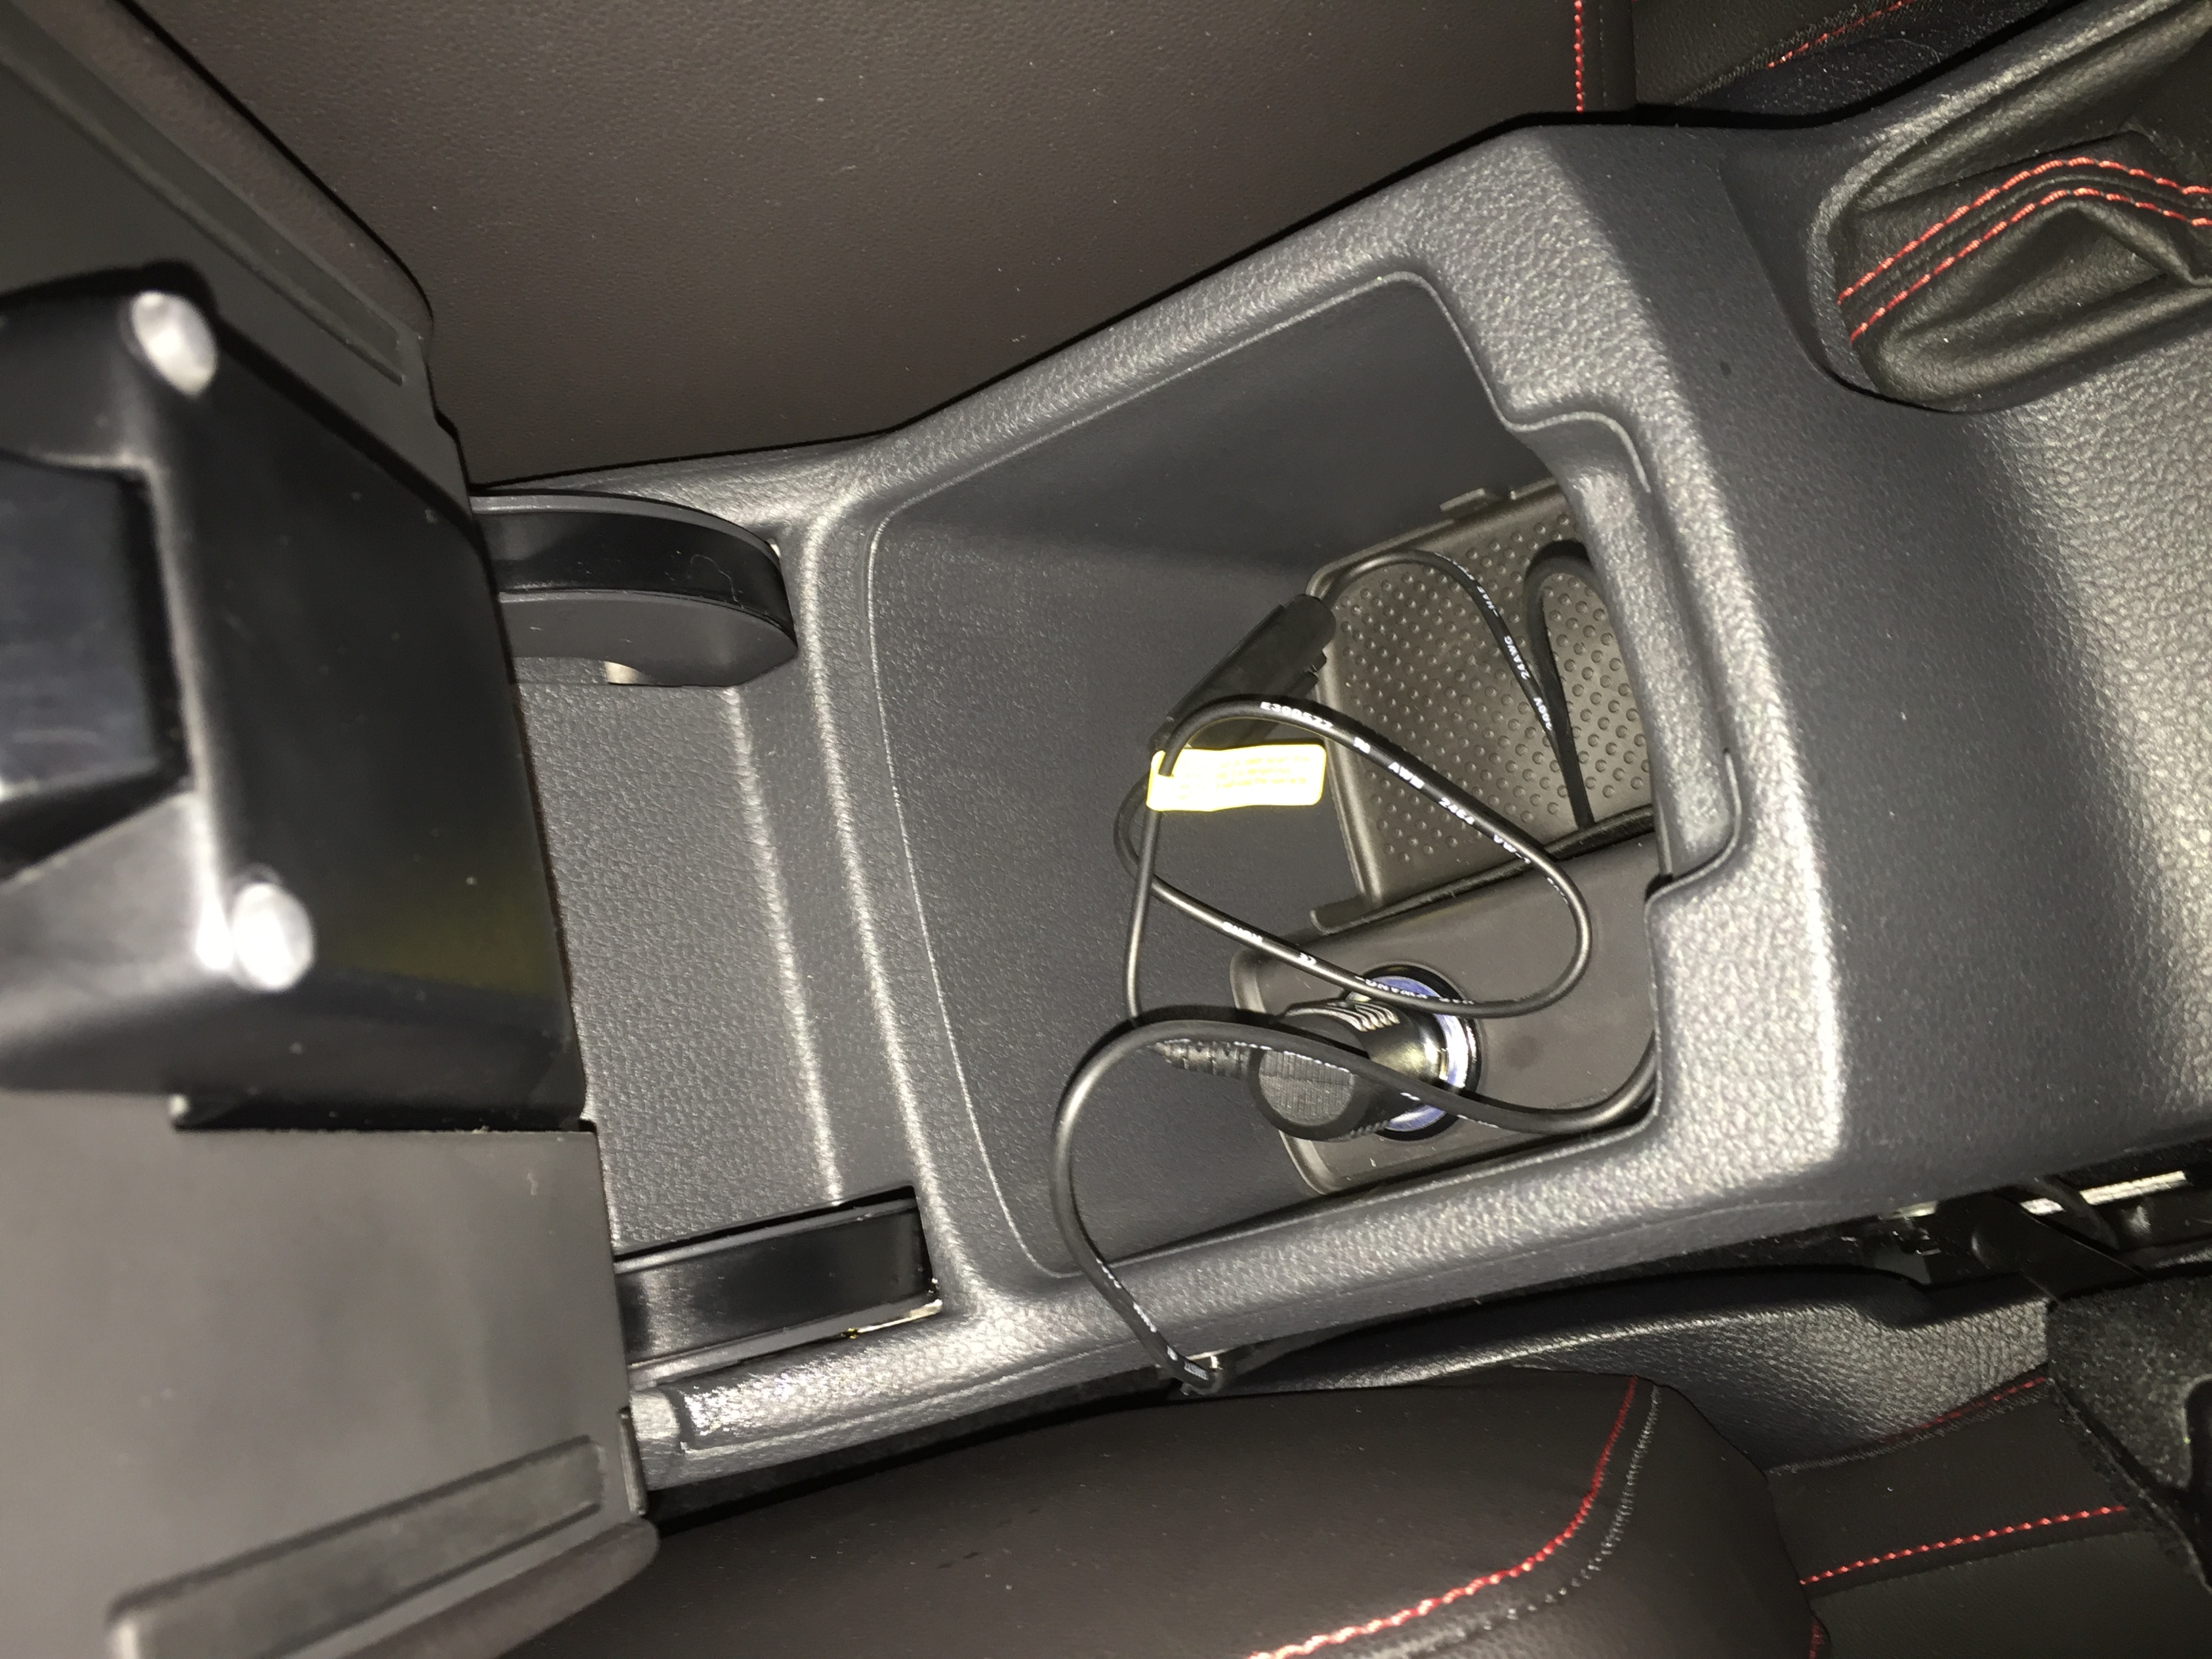
  5. Post #15 - Dashcam install + always-on 12v fuse mod
  6. Post #18 - LED license plate lights - Parts list
  7. Post #19 - LED brake lights - Parts list
  8. Post #20 - Black-on-white front emblem
  9. Post #23 - LED reverse lights
  10. Post #25 - Custom license plate + paddle shift extensions

and the TODO list:
  1. [Pending install] Lamin-X (clear) front headlight lens film
  2. [Pending install] 3M clear film on the door sills (might get GTI-branded aluminum covers from aliexpress in the fall)
  3. VWR springs
  4. ECS skidplate (maybe, gonna need it being lowered this coming winter for our highways with many, many potholes)
  5. Exhaust (Looking at the Remus Sport Exhaust)
  6. USP "Clean bay" stainless steel bolts
  7. JB1 tune

 
Last edited:

vigti

Passed Driver's Ed
Volvo rear license plate bracket install

Installation of this license plate bracket was a lot easier than I anticipated, especially because I had to drill new holes in my brand new car...

The bracket, which I purchased off Ebay, comes coated in a gross looking yellow hue so I added a nice touch of plasti-dipping (black) the bracket before installing because why not :)

Tools list:
  • 3/8 paddle bit (I don't have a step bit which others have used this project)
  • Electric drill
  • 11mm socket wrench
  • philips screwdriver
  • No. 2 robertson screwdriver

Parts list:
  • 2x 10-32x3/4 machine screws
  • 2x 10-32 well nut
  • 2x 10-32 lock washer (can use any kind really)
  • 4x 1/4-20 acorn nut
  • 12x 1/4 rubber washer (raised posts are a touch too high and acorn nut only goes so deep, could have used an angle grinder to slim down the posts height which I might do in the future)


Bracket pre-plastidip with all the pieces installed to fit


Bracket post-plastidip: (I think it looks much better. I know that nobody is going to see it, but I'll know ;))


Holes are drilled about 1 1/2 inches deep, slightly into the foam behind the plastic


I realized after installing this bracket that I need some new plates! 6 years old and 3 car collisions :p I might also plastidip the acorn nuts when I get new plates.


The smallest gap at the top is about 3/4 inches, biggest gap is about 1 1/8 inches


Next up is doing the front license plate mount on the tow hook! Stay tuned ;)

Edit: I also realized after looking at a few other installs of this bracket and mine is upside down :( I will swap it when I get new customized plates
 
Last edited:

Sandman GTI

Drag Race Newbie
Location
Tennessee USA


The spacer between Volvo plate and car tag looks like it is a bit much to me.
I think bolting directly to the Volvo plate will be good. The extra space moves the plate out a lot. The Volvo holder spaces based on its design so the extra spacer look much to me.
However it is your car, so it is up to you.
Maybe try removing and look at it when you mount the custom plates.
Like the holder and your install!
 
Last edited:

vigti

Passed Driver's Ed
The spacer between Volvo plate and car tag looks like it is a bit much to me.

I think bolting directly to the Volvo plate will be good. The extra space moves the plate out a lot. The Volvo holder spaces based on its design so the extra spacer look much to me.

However it is your car, so it is up to you.

Maybe try removing and look at it when you mount the custom plates.

Like they holder and your install!


I kind of feel the same way about it every time I look at the pics. I might see what I can do about cutting the posts down a bit.

The reason the plate is out so far on the posts is because they are very long and the plate is so thin, plus the acorn nuts are very shallow so the posts only go into them 2 full turns.
 
Last edited:

vigti

Passed Driver's Ed
Today was a semi-decent day outside so I decided to tackle installing my offset front license plate mount on the lower-grill, like this guy over on VWVortex.

Tools list:
  • 3/8 paddle bit (I don't have a step bit which others have used this project)
  • Electric drill
  • philips screwdriver
  • No. 2 robertson screwdriver

Parts list:
  • 2x 10-32x3/4 machine screws
  • 2x 10-32 well nut
  • 2x 10-32 washers (can use any kind really)
  • 6x black nylon zip-ties

This is a short-to-medium-term mod to get me used to seeing the offset license plate. I love seeing it in pictures and I want to see how I like it long-term before I purchase a USMillworks tow-hook mounted license plate bracket, or something of the like.

Taking the dealer-installed mount off the front was a bit difficult, and definitely does two things: highlights the fact that I need new plates (currently in the process of getting custom plates), and the holes the dealer drilled are massive :eek: Hoping to get something to fill these soon as it will drive me insane whenever I walk to my car! Once I get some plugs to fill the holes I'll update this post with the parts list and the process.


I also decided to flip my upside-down rear license plate bracket and move the spacers on the posts from the back of the plate to the front. I think this looks much better and definitely highlights the fact that the posts are too high. I might take my dremel with a diamond-coated disc to them, or if I can get my hands on an angle grinder.

 
Last edited:

vigti

Passed Driver's Ed
Got new shoes yesterday :) 18x8.0 Fast Wheels (a Canadian rim company), Rennen in Hyper Silver colour wrapped in Michelin Pilot Sport A/S 3 rubber. They look great and in the sun the pearls in the paint shine bright.


If anyone is looking to buy a set of gently used 18" Austins in BC, hit me up.
 
Last edited:

vigti

Passed Driver's Ed
I did a similar install with the Volvo plate.

If interested look at page 2 and 3 of my build. Link below.

Car looks good. Nice wheels.


Thanks Sandman, loving the look of them so far. The Michelins are significantly grippier than the Pirellis by an order of magnitude, it's astounding.
 
Last edited:

vigti

Passed Driver's Ed
Some bad news: did a WOT pull on a long strip of empty highway near my house (not a soul for 2 minutes) only to find out that going over 70km/h the car starts to vibrate on what feels like the front-passenger side now...

I didn't think anything of it when I left the shop yesterday morning but I kind of noticed a slight vibration when going over 100km/h on the highway but I figured it was the new tires settling in, etc. After running it over 100km/h a few times today to test my theory, I'm quite certain something is amuck and needs to be fixed.

I'm not too happy and will be going back to the shop that did the install to see what they can do about it :(
 
Last edited:

vigti

Passed Driver's Ed
Some good news re: my rims! As it turns out, the guy who installed the rims installed incorrectly sized hub centric-rings. Fast Wheels has two hub ring sizes: 72.62 and 73.00. They installed the 72.62 rings initially and after talking to Fast Wheels on the phone discovered that they needed the 73.00 rings. Needless to say they were very apologetic about the mixup and fixed the issue quickly. Now it rides smooth as hell and I'm happy!
 

vigti

Passed Driver's Ed
Did the first oil change yesterday at just over 7500km and took some pics. I'm very grateful for purchasing the ramps in the first and last pictures, they were a big help. They were purchased from Canadian Tire for $70 and the last 2 pictures are of the packaging if you want to pick some up yourself.

The whole process was fairly simple and after reading some of the posts here on the forum I decided to do my own oil changes from now on. My previous Golf City was near impossible to change the oil in because of the location of the filter so I never ended up doing it myself and just took it to a local shop. From start to finish, it took about 45 minutes on my own.


New filter vs the old dirty filter. I replaced the O-ring on the filter housing when changing out the filter this as well. I'm not sure how often it needs to be changed but I figured why not this time.


At this point I didn't think the whole thing was going to fit into the drain pan but it started slowing down to a dribble just as it crested the brim of the pan. This made it very tricky to transport the used oil back into the 5qt jug. I think I'm going to buy a proper drain pan with a better spout on it for next time!


Last edited:

vigti

Passed Driver's Ed
Spent a few hours on Sunday washing and waxing, just in time for the rain this evening!

Took a shot of her on the way home from work today at a viewpoint on the highway I drive everyday.

 
Last edited:

vigti

Passed Driver's Ed
Dashcam install + always-on 12v fuse hack

To grab your attention, I'm starting with a lame backstory: I was in a vehicle collision last summer that wasn't my fault in reality, however the insurance company ruled that due to the circumstance, and where and how it happened on the road, I was 100% at fault.

My damage:


... and his


I never ended up fixing the drivers side front fender, and after getting my GTI this past February, I decided it was worth it to get a dashcam so there's at least some visual evidence on my side should something bad happen again.

I did research for a few weeks prior to purchasing, weighing pros and cons, and finally caved getting a Blackvue DR650GW-1CH. I didn't spring for the 2CH model as I wanted to save a bit on cost ($100 for the rear camera), plus I don't think I need the rear camera right now. Having the built-in WiFi is great because I can review footage on-site on my phone before moving the car if I need to. Speaking of which, I wanted to enable the Parking Mode feature of the dashcam with some custom wiring but was a bit unsure where to start. I knew I'd need to tap into some of the car's wiring, but doing some research prevailed as I found this super simple 12v DC fuse hack thread here on the forum. The purpose of the fuse hack is to turn the 12v dc plugs in the car to "always-on" even when the ignition is turned off. It's a simple hack to reverse and nobody has reported any negative consequences of doing this route.

Here's some pictures of the install and where I routed the cable through the car:


I've had it for over a month now and it's been pretty great so far. I even have some footage of someone almost driving me off the road last weekend!


We'll see how it performs in the heat of the summer though, it's starting to get warm outside already and it's only the beginning of May :eek:
 
Last edited:
Top