danielmckendry
Ready to race!
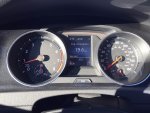
You can get the trim over the guages off and then the plastic is one piece, would be much easier to clean.
To get that trim off you need to take the trim thats on each side off first, that's the vent and touchscreen trims, then you'll be able to get the gauge trim off, to get that off there's a bit above the steering wheel that needs pulled off first. If you need detailed info i can take mine apart and list photos, i've done it a couple of times, first to wrap the trim and secondly to replace the wrap with plastidip.
When i cleaned mine, i used a very small dollop of paste and did it twice, i was properly working the paste in as opposed to just wiping
Sent from my GT-I9300 using Tapatalk


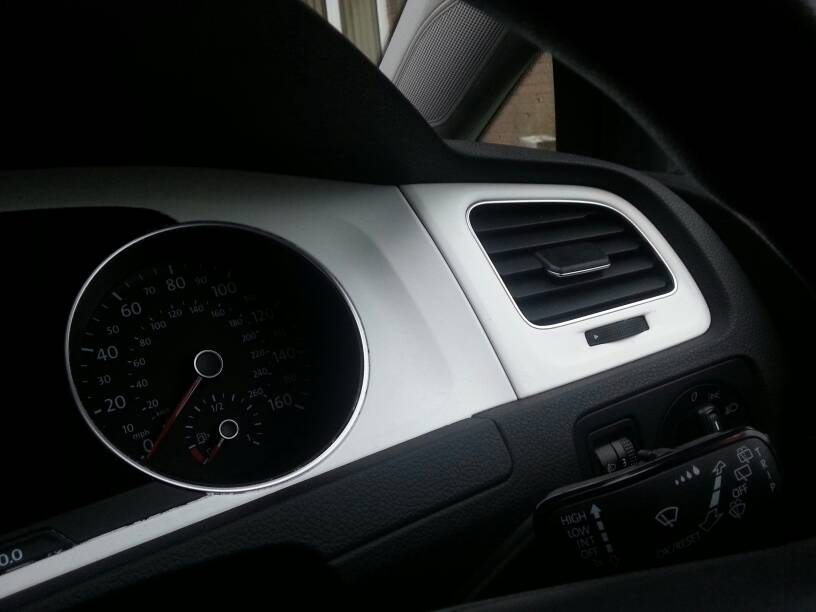


 . I did a quick wipe down which pushed the dust down to the bottom edge of the film, so the edge looks more noticeable in the pics. I was pretty rough with the wiping too and no scratches appeared on the film as far as I can see. I don't notice the edges when driving, but I guess it depends how OCD you are.