With the new car I realized very quickly that some form of front splitter is badly needed. I think the GTI being so nose heavy also needs some form of splitter to move the aero balance forward.
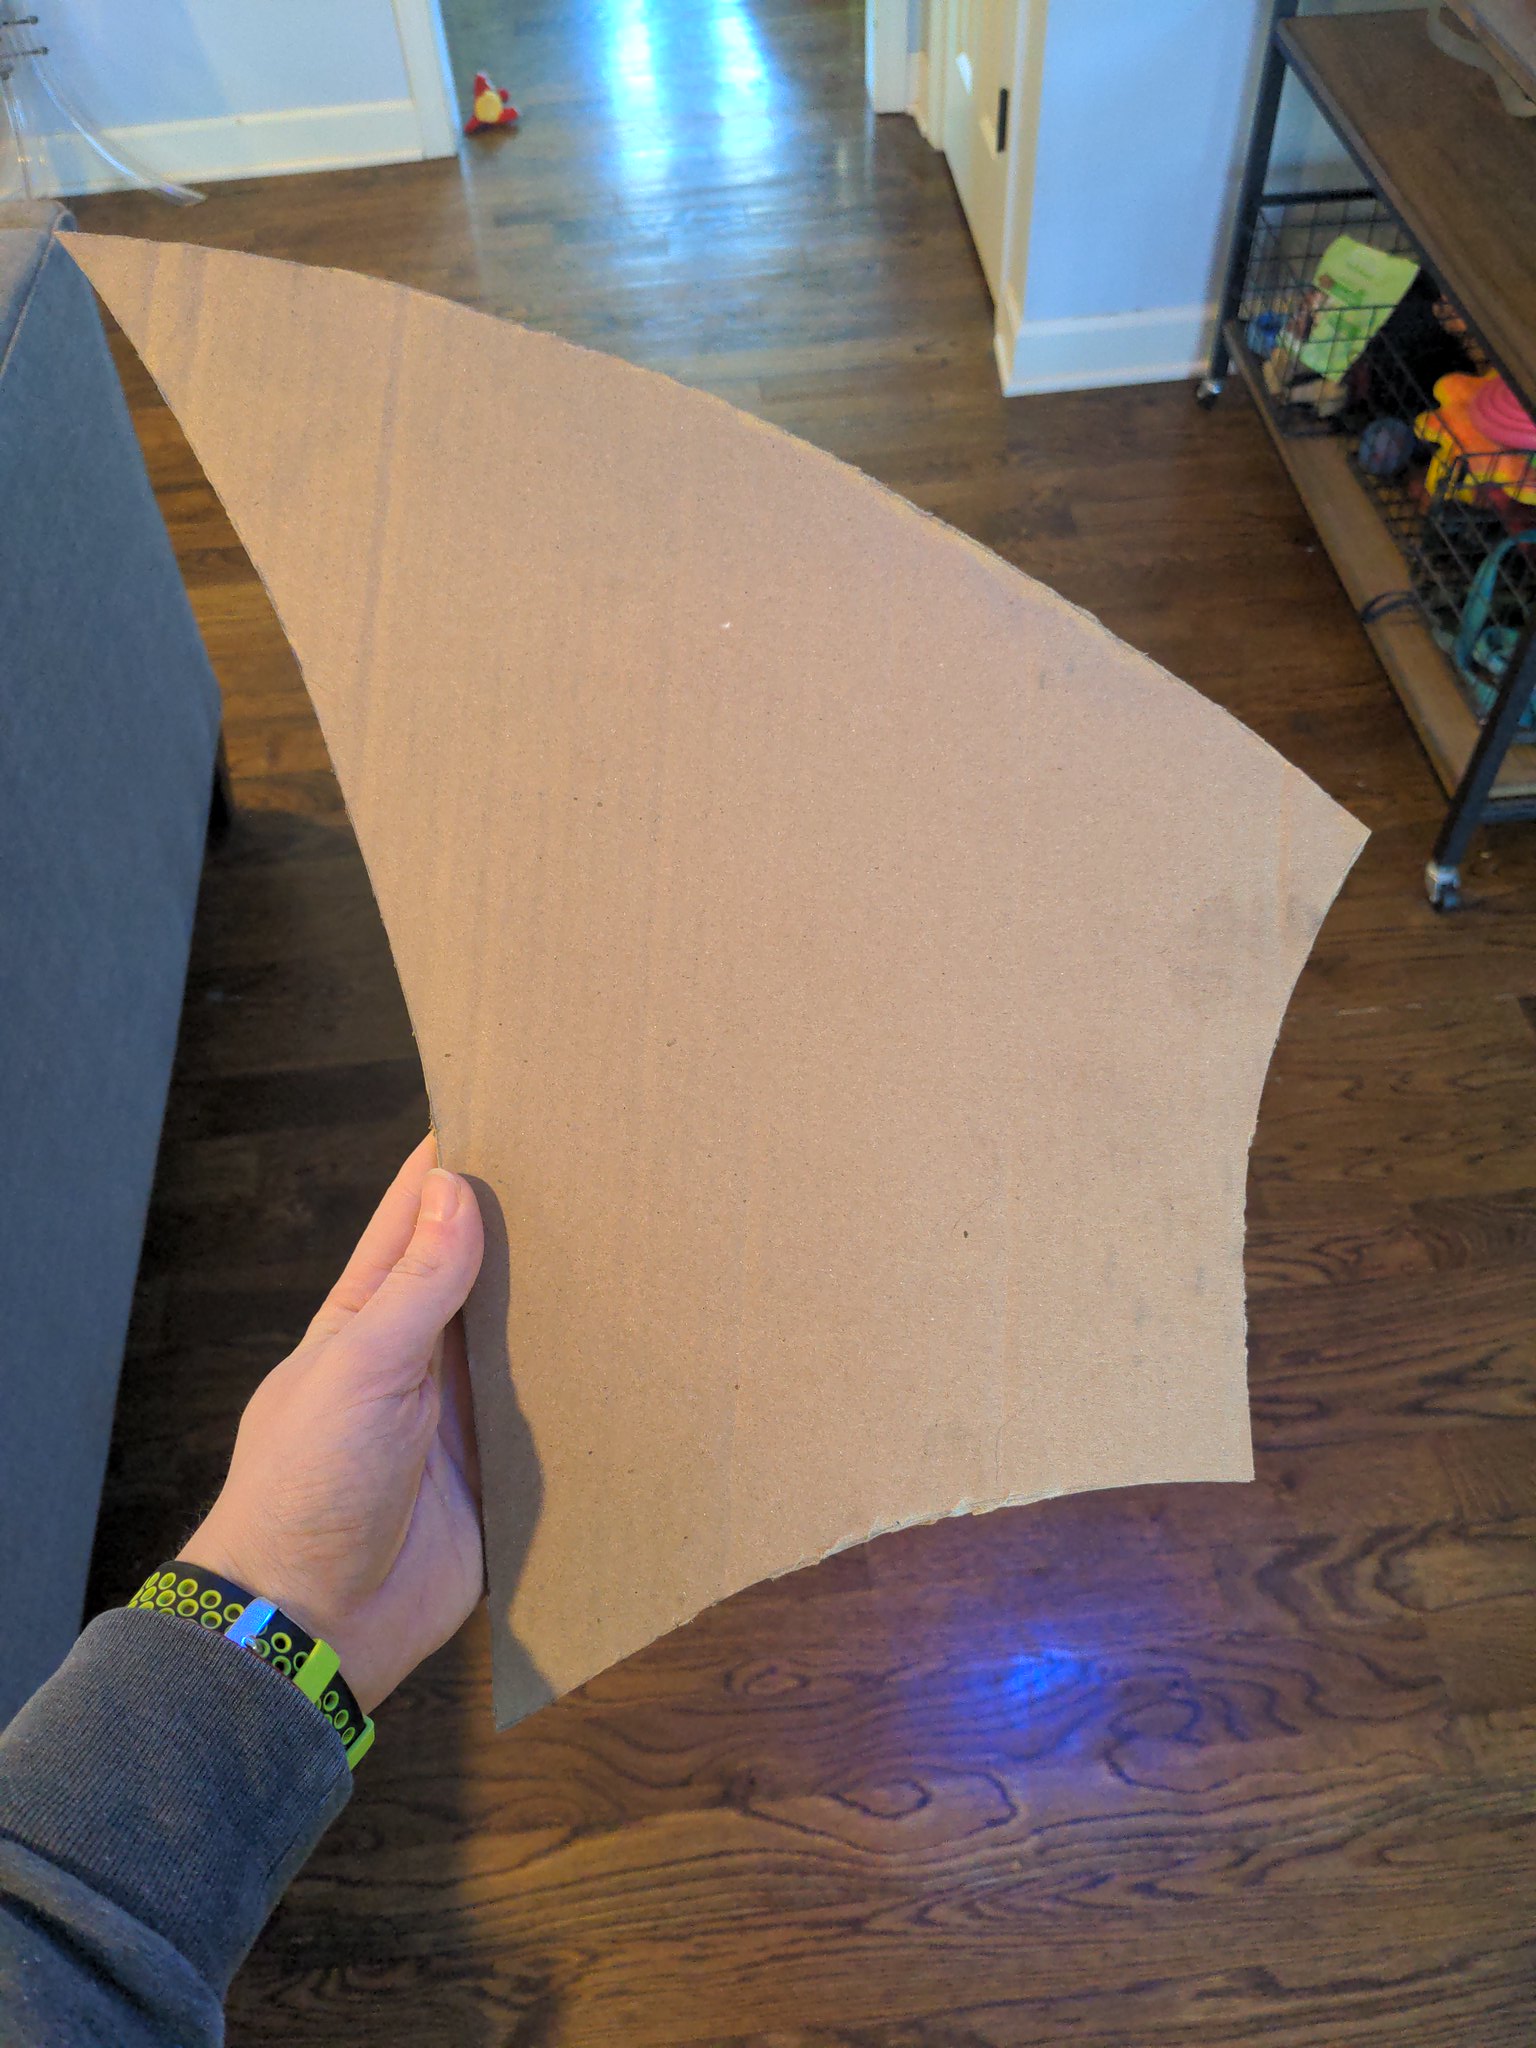
Initially I intended to buy a splitter, but custom made stuff gets expensive fast and even basic plywood runs over 400$. I decided to first try finding my own marine plywood and cutting that to shape.
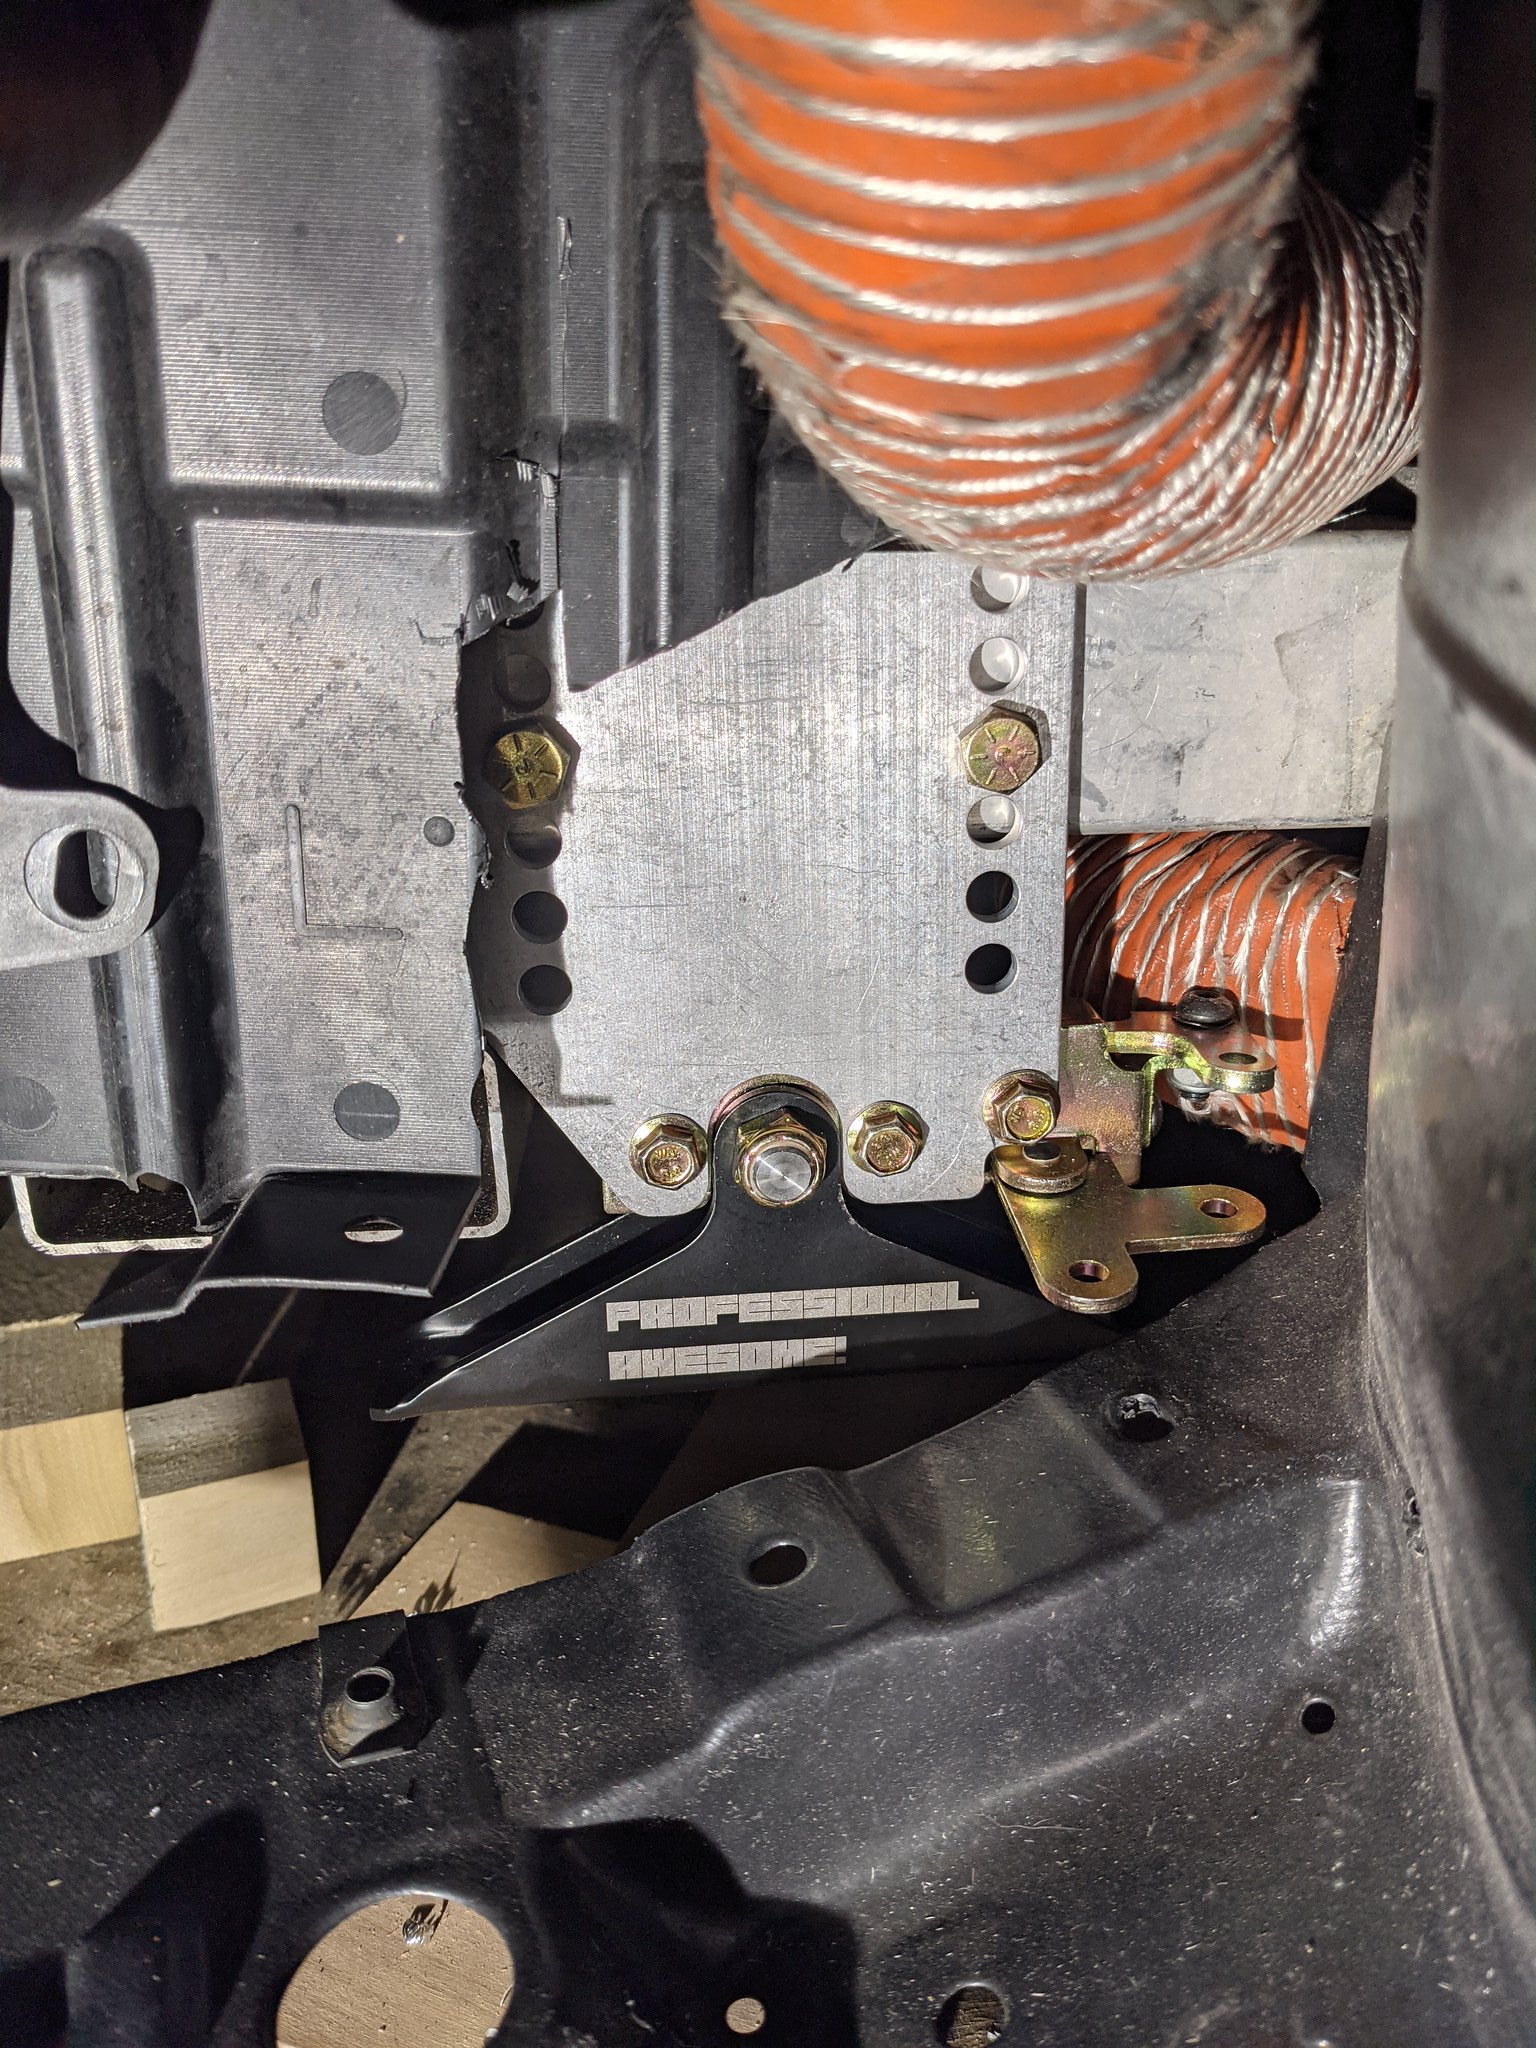
I found a local source of marine ply, but it's not high quality and bent on me while sitting on its side for one evening. I bought a bunch of nice hardware from professional awesome and planned to mount the plywood splitter with it. I still plan to use the plywood for a replica and core model, but I plan to use it to eyeball the hardware into spec.
I'll trace the bumper onto the plywood and measure out 4" from every vertical dam section, which means I will likely have to do the dam first.
The plywood will then mount to the car to test fit and get cut down to rough splitter shape.
Then the bumper goes on, then dam, and final jigsaw cut to ensure a clean and smooth finish to the facing edge. I'll also make note of any hardware holes, recess any necessary and retest fit. I'll also make note of the bumper lower side which will likely need a fence and dam extension, and plan accordingly.
Now comes the fun part... I can get polyisocyanurate foam from home depot for 12$ in a 1/2x4x8 sheet. Carbon composites sells fabrics, epoxies, and bagging kits which I'll buy to do 1.5gal epoxy, 5 yards of bagging kit material, and enough carbon fabric for 2 layers, plus an additional carbon Kevlar layer (in red/black because why not throw some color in in life). I'll also get a resin tank and venturi vacuum generator from Amazon.
The foam will be cut to the splitter shape, the edges routed, the backing removed, any holes or cutouts recessed and cut, and then the whole thing will get a thin layer of resin to smooth and seal pockets in the foam.
I'll do the multiple layers of fabric with epoxy between each, bag the sandwich, and then let it cure for 24 hrs. Once cured, I'll sand it, clean it up, and give it a solid coat of a water based outdoor poly with my spray gun.
I'm at the measuring out the bumper step now
")
.
View attachment 193847View attachment 193848View attachment 193849View attachment 193850